Вязаные снежинки крючком. Часть 2 находится здесь***

During the cold season, you really want to please yourself and your loved ones with the beauty that is so rare around! And it’s not at all necessary to mourn the summer days; you can bring comfort into your home based on a winter fairy tale, if you know how to create festive symbols of winter with your own hands. To do this, you can use yarn, knitting needles or crochet. It must be said that the winter theme in crocheting or knitting is perhaps the most relevant, and the New Year theme is one of the most beloved by all craftswomen - because it lifts the mood so much!
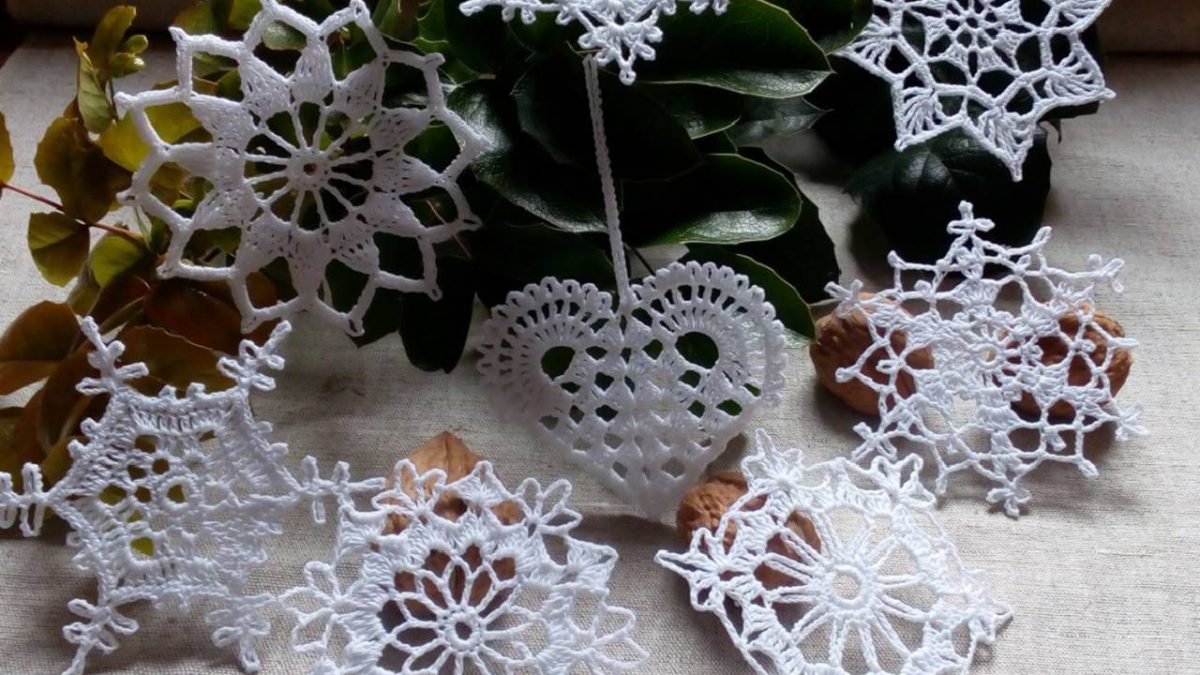
One of the many interesting winter elements that can be used to decorate your home during the winter holidays, and everyday life too, are crocheted snowflakes.
These are very cute and delicate openwork products that can be “used” in the household in a variety of ways:
- Christmas decorations;
- festive coasters for cups and glasses;
- New Year's keychains;
- decorations-stickers for simple jars-flasks;
- decorative elements for New Year's gifts and cards;
- patch on sweaters, hats, scarves.
In general, crocheted snowflakes will come in handy in anything you can imagine.
Crocheting snowflakes is also suitable for beginners in this matter, if you choose among the easy options for patterns.
Detailed description of crochet snowflakes

This snowflake is knitted according to the following pattern and detailed description with photo:

We make a ring of thread and knit 1 air lifting loop.
1st row: we knit 8 single crochets into a ring, tighten the ring of thread and knit a connecting stitch, inserting the hook into the first single crochet of this row.
2nd row: we knit 3 air loops of lifting + 2 air loops according to the pattern pattern (i.e. we knit 5 air loops), in the next loop we knit a double crochet, then we knit 2 air loops, *in the next loop 1 double crochet, again 2 air loops * from * we continue knitting until the end of the row.

We close the row with a connecting post, insert the hook into the 3rd lifting air loop.
3rd row: in order to move on to knitting from an arch, we knit 1 connecting stitch, then 2 chain stitches, we knit 3 double crochets with a common top, then we knit 5 chain loops, *in the next arch we knit 4 double crochets with a common top, again 5 chain stitches *, continue knitting from * to the end of the row. We close the row with a connecting column, inserting a hook into the common top of the columns.

4th row:we knit 1 chain stitch and 1 single crochet in the same base loop, we knit a picot of 3 chain loops, and a single crochet in the same base loop, then we knit a picot of 5 chain loops, and a single crochet in the same base loop, knit a picot of 3 chain stitches and a single crochet, inserting a hook into the same loop, then we knit 3 chain loops *at the common top of the next group of stitches we similarly knit 1 single crochet, a picot of 3 chain loops, 1 single crochet, picot of 5 chain stitches, 1 single crochet, picot of 3 chain stitches, 1 single crochet.

Next 3 air loops*. From * we continue knitting until the end of the row. We close the row with a connecting stitch in the first single crochet of this row. All that remains is to hide the ends of the threads and the snowflake is ready!

When the products are ready, they will have to be starched, blocked on the surface, dried and ironed.
How to starch
There are several ways:
- With the help of sugar. Dissolve 12-13 tbsp in one glass of hot water. spoons of sugar. Soak the snowflake in the solution and block it, or dry it on a flat surface.
- Using potato starch. Dissolve 2-3 tbsp in one glass of hot water. spoons of starch. Soak the snowflake in the solution, block it with needles, and dry.
- PVA glue diluted with water 1:2. Block the snowflake, take a brush and saturate the product with PVA glue, then dry.
- From an aerosol can with starch. Such special cans are sold in handicraft stores. Follow instructions for starching.
Snowflake patterns
Scheme 1

Scheme 2

Scheme 3

Scheme 4

Scheme 5

Scheme 6

Scheme 7

Scheme 8

Scheme 9

Scheme 10

Scheme 11

Scheme 12

Scheme 13

Scheme 14

Scheme 15

Scheme 16

Scheme 17

Scheme 18

Scheme 19

Scheme 20

Scheme 21

Scheme 22

Scheme 23

Scheme 24

Scheme 25

Scheme 26

Scheme 27

Scheme 28

Scheme 29

Scheme 30

Legend

Related posts
1 Comment
Leave a Reply Cancel reply
About the Author

Welcome !
My name is Lilia. The main hobby of my life is knitting. I started with knitting needles and switched to a knitting machine. In 1988 I got acquainted with crochet - Romanian lace. About 10 years ago I became interested in Irish lace and Shetland knitting. And now I’m trying fillet crochet. On this site I want to share with you my 45 years of experience in various knitting techniques.
Latest publications
Flowers on fillet lace. Part 3
Flowers on fillet lace. Part 2.
Blog Subscription
Be the first to receive new items!


Wow. So inspired designs. I'm so glad. Excellent knitting work idea. You are great designer. I appreciate.