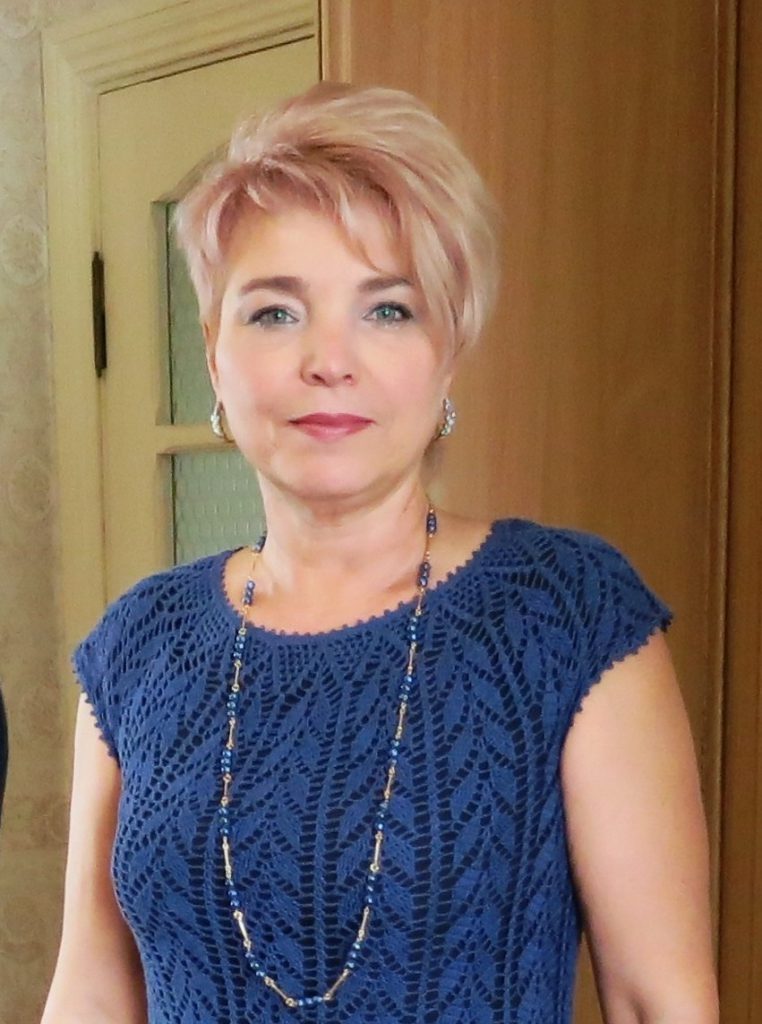
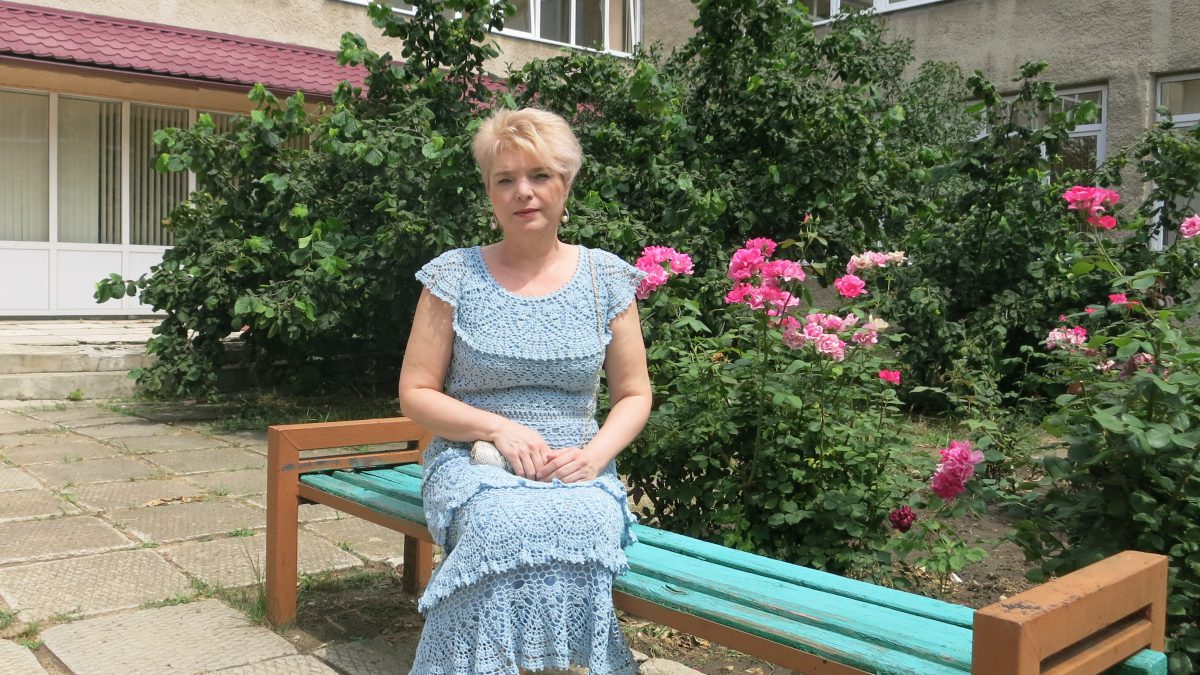
Openwork, like sea foam, elegant and beautiful summer dress!..

Автор модели Лилия Вигнан. Опубликовано на сайте www.liliavignan.com
The dress is knitted from Turkish yarn Sarmasik 200m/50g – 500g blue with lurex:
- cotton 60%
- acrylic 20%
- viscose 20%
Clover hooks No. 2.0-2.5 were used for knitting.
The following abbreviations are used to describe the work:
VP - air loop
СС – connecting post
RLS - single crochet
Dc - double crochet
СС2Н - double crochet stitch
Dress - Sea foam - knit from the top from the neckline down, without a single seam.

The work is carried out in stages.
We knit samples of patterns and calculate the knitting density.
Basic pattern diagram

Draw a pattern according to your measurements.
Size 46-48
First stage (yoke): We knit the initial row from a chain consisting of 64 links. We knit each link as follows: * 4 VP, 1 DC in the 1st VP of the chain *, repeat this 64 times and close the chain into a SS circle. Chain length – neck circumference – 80cm.
We distribute 16 repeats of the yoke - 4 chain links per 1 repeat of the yoke pattern. We knit according to a pattern of 15 cm. – 1 repeat in height according to the pattern of the main pattern.
Close each row with a SS and knit the required number of VPs to lift to a new row. The diagram shows the expansion of the canvas and the line of transition to a new row.

Second stage (bodice): Divide the fabric into 4 parts (back and front 5 repeats each, armholes 3 repeats each). Make notes with markers. Leave the armholes out of work, they are already ready.
We knit the bodice of the dress with a “lily” pattern.
Scheme of the “lily” pattern


For 5 repeats of the yoke there are 13 repeats of the “lily” pattern. We knit the installation row for the transition from the yoke to the bodice as follows: *Dc, 4VP* - repeat 26 times (1 rapport “lily” - 2 arches), Dc. See photo. The transition row is indicated in blue on the yoke diagram.
Transitional row from the yoke to the bodice of the dress

Next we knit an Asian sprout on the back - 1 repeat in height with a lily pattern.
Asian sprout on the back

Transition from yoke to front bodice

We connect the back and front into a single fabric, knitting the undercuts at the armholes with 2.5 repeats of “lilies” - 25VP. We place the lifting line to the new row along the side seam.
Undercut line in armhole

We knit in the round: back, front and undercuts – 31 repeats of “lilies”, 1 repeat in height.
Change the hook to No. 2.0 and knit the 2nd repeat.
We knit according to the pattern, placing the rapport of “lilies” in a checkerboard pattern.
In the 3rd rapport in height, we fit along the side line. We knit 2 “lilies” with 2 lush DCs. The photo shows the change in the scheme in lilac.
The 4th repeat in height we knit 29 repeats of the “lily” pattern.
Sideline deduction scheme

Third stage (skirt): we knit 2 rows in a circle (front and back together) downwards in lush columns: * 2VP, 3DC together*. While knitting circular rows, we knit a thin elastic band.


Let's move on to knitting the skirt.
Hook No. 2.5
The number of tiers and their width (the number of horizontal repeats in each tier) may vary depending on the model of the dress and the style that suits you.
In my case, the skirt consists of 4 tiers:
- first (upper) tier 16 repeats according to the scheme,
- second – 20,
- third – 20,
- fourth -20.
Basic pattern diagram

The first row of the main pattern (*DC, 4 VP* from *repeat), the number of such arches should be divided by 4 (pattern report). We close it in a circle and then knit everything in a circle without turning.
One of the most difficult moments when knitting such multi-tiered products is attaching the next tier to the previous one .
The blue stripe marks the row to which the next tier is attached, i.e. in the 3rd row from the edge of the tier.
In fact, everything is not as complicated as it seems at first glance.
To attach the next tier, you must first place the product in front of you “head down,” i.e. Position the lower edge of the tier “away from you” so that the front side is in front of your eyes.
Then you need to bend the lower edge of the tier so that the row to which the next tier will be attached (indicated in blue in the diagram) is on the fold.
Next, we begin to knit the first row of the pattern, attaching stitches to the wrong side of the marked row and alternating DCs and arches from 4VP.
Please note that for each repeat there are 4 DCs, separated by arches of air loops.
Before you start knitting, you need to calculate the required number of double crochets for the next tier.

Here is the calculation diagram for the dress - Sea Foam.
We have finished knitting the first tier, consisting of 16 repeats, and are moving on to knitting the second tier of 20 repeats.
In the first row of the first tier we knitted 64 Dcs (4 stitches for each repeat), separated by chains from VP, but for the second tier we need to knit 80 Dcs (not 64 Dcs) to get 20 repeats.
Thus, it turns out that when attaching the next tier, we will need to add 80-64 = 16 SSN, and these increases must be distributed evenly along the circular row.
It turns out that when attaching the next tier in 16 repeats of the previous one, we need to knit 1 more stitch, i.e. 5 columns instead of 4 for each repeat.
Option for attaching 5 CCHs to 1 rapport of the previous tier

We knitted the second tier, consisting of 20 rapports.
We move on to the third tier, also of 20 rapports.
It is necessary to leave unchanged the number of CCHs for attaching to the third tier. So we knit a rapport on 4 dcs. We knit the transition to the 4th tier in the same way.

Option for attaching 4 CCHs to 1 rapport of the previous tier

Here is another option for moving to the next tier. We knit in the first row of the transition in each repeat 5DC.
Then in the second row we make decreases or increases according to the pattern.

Scheme of decreases and increases when moving to a new tier

The skirt is finished.
Now let's move on to the final processing.
We tie the neckline and undercuts at the armhole: *2 sc, picot from 3 VP*.

The underdress is made of stretch crepe chiffon and is sewn along the neckline, hems and waistline.
Thank you for watching!

Related posts
1 Comment
Leave a Reply Cancel reply
About the Author

Welcome !
My name is Lilia. The main hobby of my life is knitting. I started with knitting needles and switched to a knitting machine. In 1988 I got acquainted with crochet - Romanian lace. About 10 years ago I became interested in Irish lace and Shetland knitting. And now I’m trying fillet crochet. On this site I want to share with you my 45 years of experience in various knitting techniques.
Latest publications
Shawl knitting “Begonia whirlwind”
Пуловер с ажурными ромбами и снуд ВARBARA
Ажурный пуловер ILARIA
Blog Subscription
Be the first to receive new items!


Thanks for the wonderful work!