
Вязаные снежинки крючком. Часть 2 находятся здесь***
Вязаные снежинки крючком. Часть 4 находится здесь***

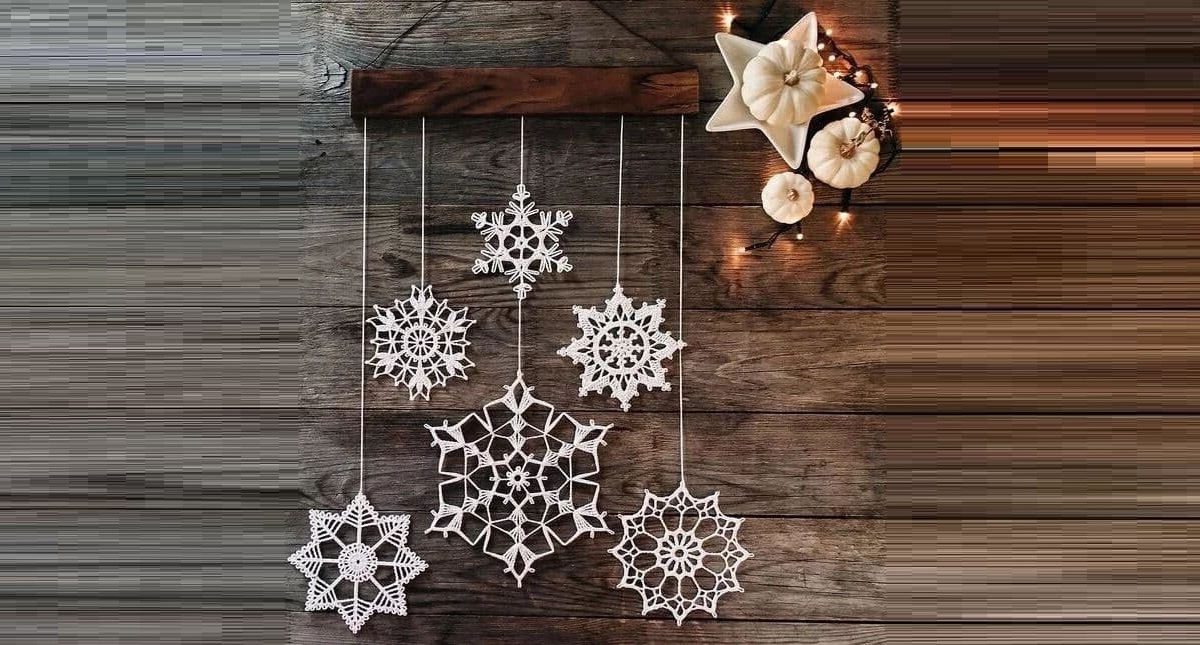
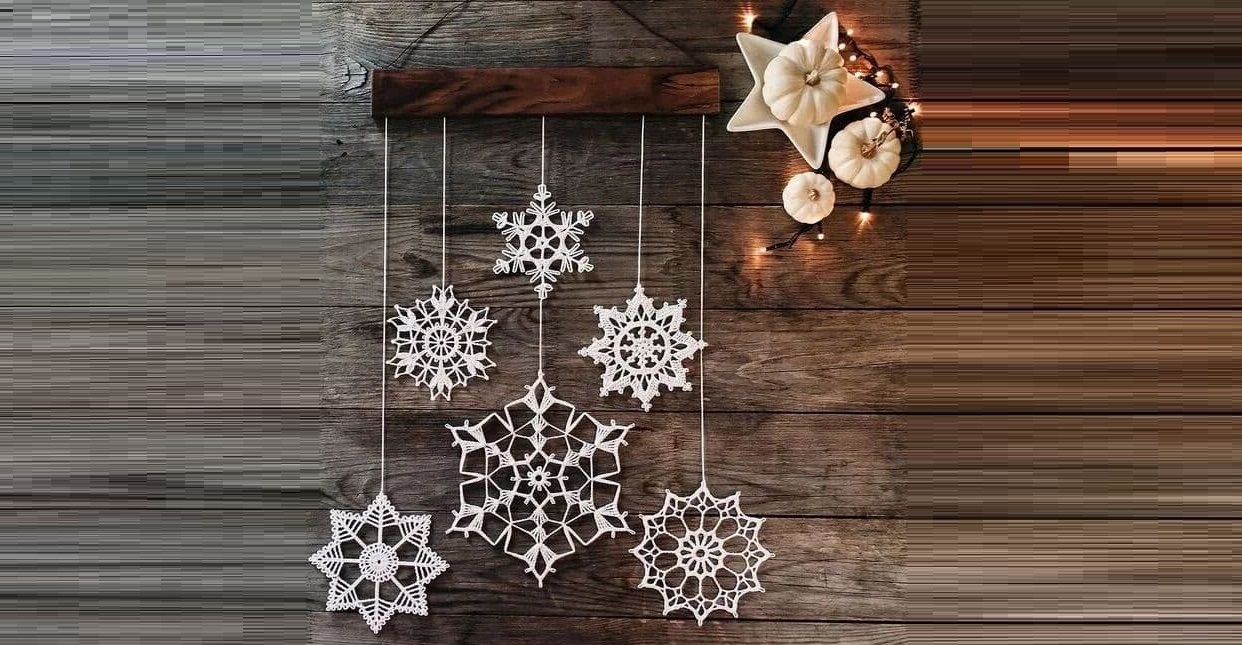
Если на вопрос «Чем бы порадовать домочадцев в период зимних праздников?» ответ будет «сделать что-нибудь красивое своими руками», то снежинки связанные крючком — это именно то, что Вам нужно!
Эти небольшие зимние символы можно использовать в самых разных целях, и они будут дарить особенное настроение без исключения всем.
Но для начала нужно выбрать подходящие схемы вязания снежинок крючком, и рассмотреть мастер-класс.
Мастер класс по вязанию красивой снежинки на Новый год

Сокращения к описанию:
П6 – пико из 6-ти ВП;
СП – соединительная петля;
СБН – столбик без накида;
ВП – воздушная петля;
ССН – столбик с накидом.
Вяжем снежинку:
В начале вязания снежинки набираем цепочку из 6ВП. Не забываем про замену первых столбиков ВП:
- 3ВП равны 1ССН;
- 1ВП равна 1СБН.
1 ряд: 1ВП, 11ССН, СП;
2 ряд: (2ССН, 3ВП) – 6 повторов, СП;
3 ряд: (2СБН в вершины ССН второго ряда, под арочку – 2ССН, 4ВП, 2ССН) – 6 повторов, СП;

4 ряд:(2СП, в два ССН вяжем 2СБН, под арку – 1СБН, П6, 1СБН, 1ССН, трехлистник из пико (П6), 1ССН, 1СБН, П6, 1СБН, 2СБН в ССН 3го ряда, 1ВП, пропускаем две петли) – 6 повторов, СП.

Все лишние нитки убираем, закрепляя их, и отрезаем.
Накрахмаливаем ажурный мотив, выравниваем и фиксируем булавочками, даем высохнуть. Снежинка крючком готова.
Когда изделия готовы, их придётся накрахмалить, заблокировать на поверхности, высушить и прогладить.
Как накрахмалить
Существует несколько способов:
- С помощью сахара. В одном стакане горячей воды растворите 12-13 ст. ложек сахара. Намочите снежинку в растворе и сделайте блокировку, либо высушите на плоской поверхности.
- С помощью картофельного крахмала. В одном стакане горячей воды растворите 2-3 ст. ложки крахмала. Пропитайте снежинку раствором и заблокируйте с помощью иголок, высушите.
- Клеем ПВА, разбавленным водой 1:2. Заблокируйте снежинку, возьмите кисть и пропитайте изделие клеем ПВА, затем высушите.
- Из аэрозольного баллончика с крахмалом. Продаются такие специальные баллончики в рукодельных магазинах. Следуйте инструкции для накрахмаливания.
Схемы снежинок
Схема 1

Схема 2

Схема 3

Схема 4

Схема 5

Схема 6

Схема 7

Схема 8

Схема 9

Схема 10

Схема 11

Схема 12

Схема 13

Схема 14

Схема 15

Схема 16

Схема 17

Схема 18

Схема 19

Схема 20

Схема 21

Схема 22

Схема 23

Схема 24

Схема 25

Схема 26

Схема 27

Схема 28

Схема 29

Схема 30


