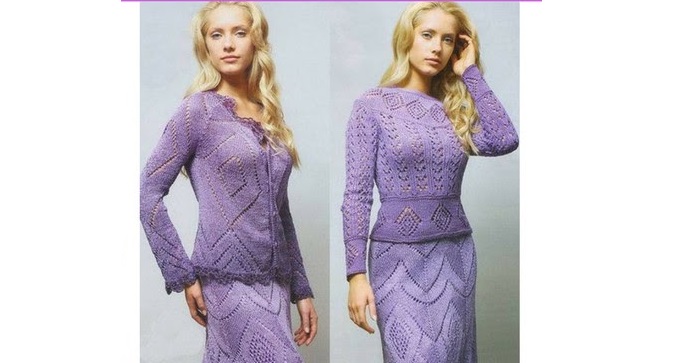
The versatility of the evening set, knitted from cotton yarn with the addition of lurex, will allow you to change outfits depending on the weather with a minimum number of items.
Knitted beads in the jumper emphasize the openwork pattern, and the addition of melange trim to the finished products gives an additional effect.

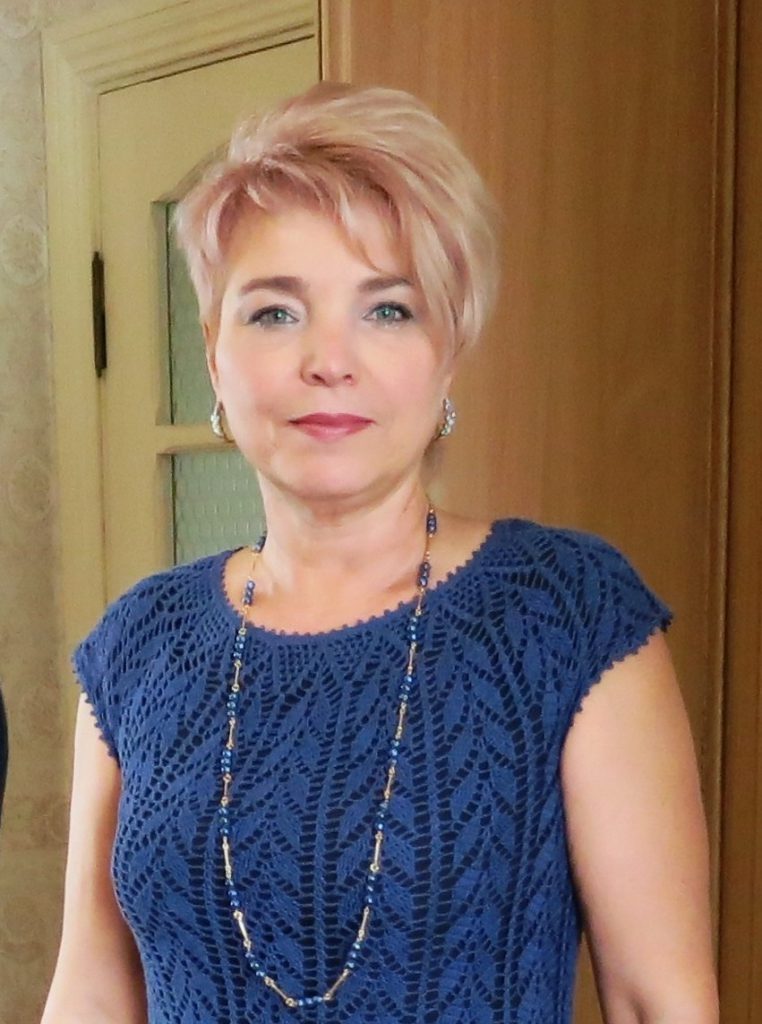
The author of the model is Larisa Ignatova
The jumper's wide placket, emphasizing the waistline, and the round yoke with a diamond pattern combine perfectly with the main pattern.
Description presented at dimensions 46 – 48

For knitting you will need:
Jumper
Alpina yarn (55% polyamide, 45% cotton, 100 m / 50 g) – 400 g, knitting needles No. 4 and No. 5, hook No. 3.

Knit all patterns according to the patterns.
Knitting density: 15 p. x 21 r. = 10 x 10 cm.

Knitting is done from top to bottom, starting from the yoke.
On circular needles No. 4, cast on 110 stitches and knit the first 6 rows in garter stitch. Next, transfer the knitting to needles No. 5 and continue working with the pattern according to pattern No. 1.

As you knit, the fabric will expand. A total of 11 diamonds should be knitted on the yoke. At a height of 15 cm from the beginning of knitting, closing the pattern with diamonds, knit 4 rows in stockinette stitch and 4 rows in garter stitch. There are 154 loops on the knitting needles.
Then continue knitting, distributing the loops as follows: 55 sts – back, 22 sts close – sleeve, 55 sts – front, 22 sts close – sleeve.

Before
Knit with the pattern according to pattern No. 2, constantly repeating rows 1 to 8, while making sure that the pattern is located in the center of the front.

To create an armhole line, on both sides of the knitting, in every 7th row, add 1 loop.
Back
Knit similarly to the front, but knit the armhole line 4 cm longer than the front.
Transfer the back and front stitches to circular knitting needles and continue knitting in a single fabric. If the pattern goes astray, add additional loops between the front and back.
At a height of 10 cm from the beginning of knitting with a single fabric, for fitting, in each pattern repeat, knit 2 stitches together according to pattern No. 2 - line A. Having knitted to the waist line, make another decrease according to pattern No. 2, line B and finish knitting 4 rows of garter stitch.
Next, continue knitting the bottom bar according to pattern No. 3, making 8 diamonds of 14 loops each. Finish with 4 rows of garter stitch.

Sleeve
Cast on 32 stitches on the knitting needles and knit 4 rows in garter stitch, continue working according to pattern No. 3. Knit 2 diamonds, adding 1 knit between them. loop.

At a height of 12 cm, finish the pattern with 4 rows of garter stitch and continue working according to pattern No. 2. To decorate the bevel of the sleeve, on both sides of the knitting, 1 loop in each 7th row.
At a height of 34 cm from the bar, to decorate the armhole line, decrease in every 2nd row 3 loops, 2 loops and then 1 loop until 22 loops remain on the knitting needles. Close off the remaining stitches. Perform the second sleeve in the same way.
Assembly and finishing
Sew on the sleeve. Tie the edges of the finished product with a crayfish step.

How to knit a women's skirt
Skirt
250 g each of cotton yarn and silk thread with lurex, knitting needles No. 5, hook No. 3.
The skirt is knitted with 6 wedges from the hip line, at the same time, start the 1st rapport and finish 2 stitches together instead of 3 loops.

Knitting density: 15 p. x 21 r. = 10 x 10 cm.
Cast on 140 stitches using a contrasting color auxiliary thread. We will get 6 wedges of 23 loops + 2 edge loops. Knit each wedge according to pattern No. 1. Having knitted a complete repeat of the pattern, bind off all the loops.


Sew a skirt. Carefully remove the auxiliary thread and transfer the loops to circular needles. Then continue knitting to the waist line to a height of 15 - 20 cm in stockinette stitch.
For the braid, tie the top edge of the skirt with double crochets. Thread the braid between the posts. Tie the bottom edge of the skirt with a pattern according to pattern No. 2.


How to knit a women's jacket with knitting needles

You will need: 200 g each of lilac cotton and silk thread with lurex, joined into one thread, and a slightly darker melange silk thread with lurex.
Knitting needles No. 5 and hook No. 3.
The model is knitted from the neckline with an openwork pattern in one piece according to pattern 1.
Attention! Start the first rapport and finish the last by tying 2 stitches in 1 stitch, and not 3 stitches in 1 stitch, knit the remaining repeats according to the pattern.

The finishing pattern is knitted according to scheme 2.

Density: 15 p. x 21 r. = 10 cm x 10 cm
Cast on 104 sts = 6 repeats of 17 sts + 2 cr. and knit each repeat according to pattern 1, expanding it due to the yarn overs in the pattern itself.
After 23 cm (in the 41st row) for the sleeves, drop the stitches of the 2nd and 5th rapport onto pinned needles. To move the neckline to the front, transfer the back stitches to working needles and knit 4 rows of the back only, continuing the pattern.
Then add 3 stitches between the back and the shelves, connect the shelves and the back and continue knitting 4 repeats in one fabric according to the pattern to the desired length.
Having completed the pattern according to pattern 1, knit 8-10 rows in stockinette stitch and finish with the pattern according to pattern 2, so that the centers of the patterns coincide.
Remove the sleeve loops from the pins onto working knitting needles and knit each sleeve, continuing the pattern first according to pattern 1, and then according to pattern 2.
Crochet the neckline with melange yarn according to pattern 3, and the bottom edge and sleeves according to pattern 4.


Related posts
About the Author

Welcome !
My name is Lilia. The main hobby of my life is knitting. I started with knitting needles and switched to a knitting machine. In 1988 I got acquainted with crochet - Romanian lace. About 10 years ago I became interested in Irish lace and Shetland knitting. And now I’m trying fillet crochet. On this site I want to share with you my 45 years of experience in various knitting techniques.
Latest publications
Flowers on fillet lace. Part 1
Пуловер с ажурным узором Bondy
Укороченный пуловер
Туника с ромбами
Пуловер Elody
Blog Subscription
Be the first to receive new items!


