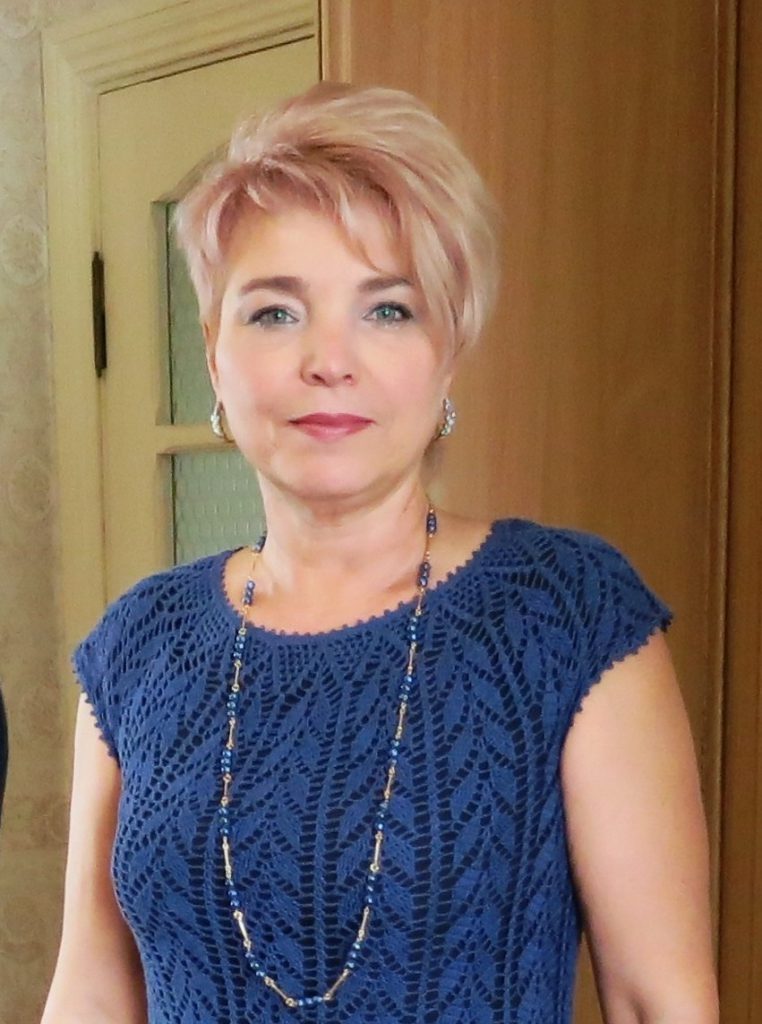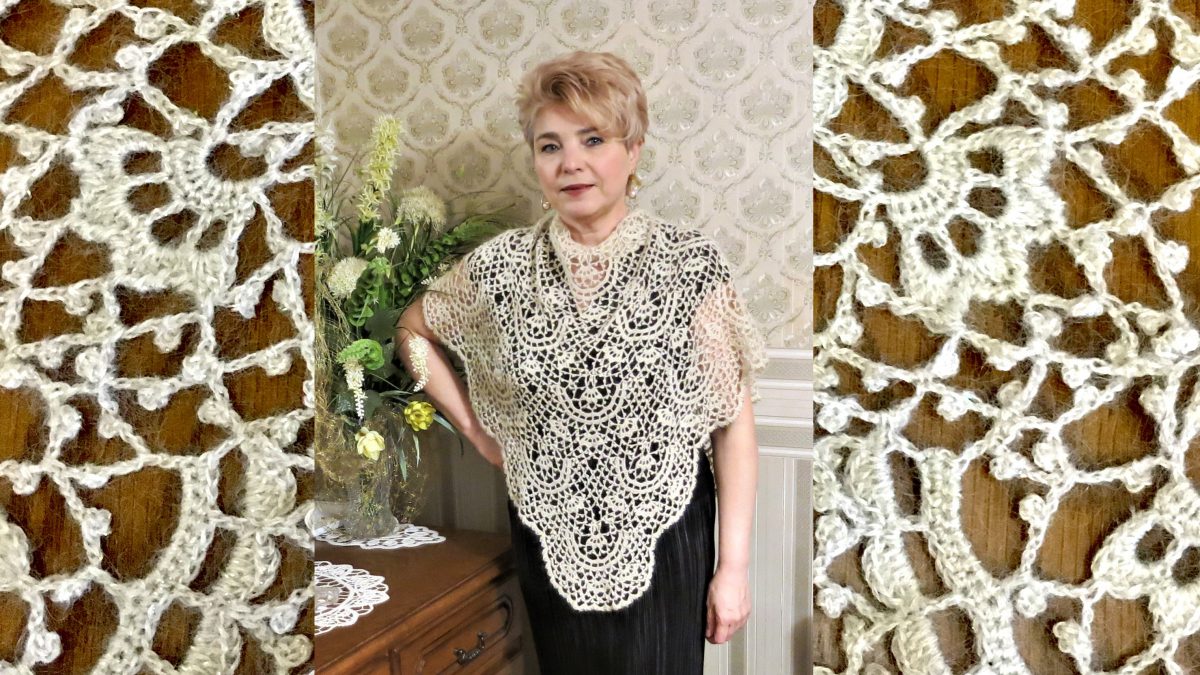
Мода изменчива — она приходит, и уходит. Но есть вещи, которые навсегда остаются в нашем гардеробе, на которые не влияет ни время, ни мода — это ажурная шаль крючком.
Даже простая одежда, если на неё накинуть красивую шаль, ажурный бактус, треугольный платок, косынку — будет выглядеть совсем по-другому -женственнее, немного загадочнее.
Crocheting a shawl is an activity for a real lady. You won’t surprise anyone with simple shawls these days.

The shawl is knitted from Italian yarn Camelot 1000m/100g and halogen lurex.
Hook 1.5mm
Shawl weight with beads 140 g

Dimensions: 145 cm x 75 cm
We knit a sample according to the pattern and description:

Semicircle surrounded by a fan-shaped grid
1st row: 4 VP, “pico” (hereinafter “pico” from 3 VP), 7 VP, “pico”, 6 VP, “pico”. 5 VP, “pico”. VP, returning to make 1 dc in the 3rd VP, which goes behind the 2nd “picot”, sc in the 4th VP, which goes behind the 3rd “picot”, 2 VP, “picot”, 5 VP, “ pico" 2 VP, 1 TSN in the VP, where the RLS is connected, 1 RLS in the last VP.
2nd row: 2 VP, “pico”, 3 VP, “pico”, 3 VP, “pico”, 2 VP, sc on the first 5 lower VPs, 5 VP, sc on the second 5 lower VPs.
Далее выполните фигуру с 4- мя фестонами — «корону».
To do this, turn the work, tie 1 VP, 9 RLS under the arch of 5 VPs you just completed.
Turn the work, 1 VG1, 9 RLS.
Turn the work: 1 VP, RLS, 4 VP, RLS, departing from the previous 1 column, 3 VP, RLS, 3 VP, RLS, 4 VP RLS in the last column.
Turn the work around. Under the first arch, tie: 2 sc, ps, 3 dc, ps, sc.
Under the next 2 arches, tie sc, hc, 3 dc, hc, sc.
Under the last arch, tie: RLS, PS, 3 SC, PS, 2 RLS.
Next, 3 SS, going down to the beginning of the “crown” and continue knitting the row: 2 VP, “picot”, 3 VP, “picot”, 6 VP, RLS VP, where the last DC of the previous one is connected. row.
3rd row: on the first 4 VPs before. make a row: 2 SS, picot, 2 SS, then 1 RLS under the remaining 2 VP. 2 VP, “pico”, 3 VP, “pico”, 3 VP, “pico”, 2 VP, 1 RLS under 3 VP of the next arch,
Затем 4 раза свяжите *2 ВП, «пико», 3 ВП, «пико», 2 ВП, 1 СБН в средний из 3-х СН ближайшего фестона «короны»», 2 ВП, «пико», 3 ВП, «пико», 2 2 ВП, 1 СБН под 3 следующей арочки. 2 ВП, «пико», 9 ВП, 1 СБН под следующие 3 ВП.
4th row: на первых 7-ми ВП пред, ряда сделать: 2 С, «пико», 3 СС, «пико», 2 СС, затем 1 СБН под оставшиеся 2 ВП, 3 ВП подъема. +7 ВП, 1 СН под арочку из 3-х ВП пред, ряда» — повторить 6 раз.
5th row: knit with a bourdon 1 sc above each dc and 8 sc under the arch of 7 VP prev row, 1 sc in the top of the lifting loops (55 sc in total),
6th row: knit with bourdon. 2 VP lifting, 55 RLS.
7th row: 6 ВП, 1 СН в каждую 4-10 петлю пред, ряда, 3 ВП» — повторить 13 раз, СН под 2 ВП подъема.
8th row: вяжите с бурдоном. 1 ВП подъема, под каждую прочку пред. ряда свяжите *1 СБН, 1 ПС, 3 СН, 1 ПС, 1 СБН».

9th row: 1 ВП подъема, 2 ВП, «тико», 3 ВП, «пико», 2 ВП, 1 СБН в промежуток между фестонами», 2 ВП, «пико», 6 ВП, 1 СБН под петли подъема пред ряда.
10th row: на первых 4-х ВП пред. ряда сделать: 2 СС, «пико», 2 СС, затем 1 СБН под оставшиеся 2 ВП. 2 ВП, «пико», 3 ВП, «пико», 2 ВП, 1 СБН под 3 ВП следующей арочки» — повторить 3 раза. *5 ВП, 1 СБН под следующую арочку, выполните фигуру с 4-мя фестонами «корону» (см. 2-й ряд), затем свяжите 2 раза — (2 ВП, «пико», 3 ВП, «пико», 2 В, 1 СБН под 3 ВП следующей арочки) повторить 2 раза. 2 ВП, «пико», 6 ВП, 1 СБН под последнею арочку,
11th row: на первых 4-х ВП пред, ряда сделать: 2 СС, «пико», 2 СМ, затем 1 СБН под оставшиеся 2 ВП. *2 ВП, «пико», 3 ВП, «пико», 2 ВП, 1 СБН под 3 ВП следующей арочки» — повторите 2 раза. 2 ВП, «пико», 1 ВП, 1 СБН средний из 3-х СН 1-го фестона «короны», нить оборвите и закрепите.
Прикрепите нить к среднему из 3-х СН 4-го фестона, 1 СБН, 1 ВП, «пико», 2 ВП, 1 СБН под след. арочку из 3-х ВП, 2 ВП, «пико», 3 ВП, «пико», 2 ВП, 1 СБН под 3 ВП следующей арочки, 1 ВП, «пико», 2 ВП, 1 СБН в средний из 3-х СН 1-го фестона 2-й «короны», нить оборвите и закрепите» — повторите 2 раза.
Прикрепите нить к среднему из 3-х СН 4-го фестона, 1 СБН, 1 ВП, «пико», 2 ВП, 1 СБН под след. арочку из 3-х ВП. *2 ВП «пико», 3 ВП, «пико», 2 ВП, 1 СБН под 3 ВП следующей арочки* — повторите 2 раза.
12th row: 2 ВП, «пико», 3 ВП, «пико», 3 ВП, «пико», 2 ВП, 1 СБН под 3 ВП следующей арочки. 2 ВП, «пико», 3 ВП, «пико», 2 ВП, 1 СБН под 3 ВП следующей арочки. (*2 ВП, «пико», 3 ВП, «пико», 2 ВП, 1 СБН в средний СН очередного фестона «короны»* — повторите 4 раза. 2 ВП, «пико», 3 ВП, «пико», 2 ВП, 1 СБН под 3 ВП следующей арочки* — повторите 2 раза. ) — повторите 2 раза то, что в круглых скобках. 2 ВП, «пико», 3 ВП, «пико», 2 ВП, 1 СБН под 3 ВП следующей арочки. 2 ВП, «пико», 9 вП, СБН в конце ряда.
13th row: на первых 7-ми ВП пред. ряда сделать: 2 С, «пико», 3 СС, «пико», 2 СС, затем 1 СБН под оставшиеся 2 ВП. *2 ВП, «пико», 3 ВП, «пико», 2 ВП, 1 СБН под 3 ВП следующей арочки* — повторите 18 раз. Оборвите и закрепите нить.
14th row: Прикрепите нить к 3-ей арочке из 3-х ВП пред. ряда СБН. 9 ВП, 1 СН под след. арочку из 3-х ВП. *8 ВП, 1 СН под след, арочку* — повторите 11 раз. 4 ВП, 1 C2H. 15th row: вяжите с бурдоном. 2 ВП подъема. Над первой и последней арочкой из 4-х ВП вяжите — (СБН, ПС, 3 СН, ПС, СБН). Над арочками из 8-ми ВП вяжите (СБН, ПС, 3 СН, ПС, 2 СБН, ПС, 3 СН, ПС, СБН). Нить оборвите и закрепите.
Образец, связанный из пряжи Camelot — 23 см х 13 см

Shawl assembly diagram:

We start knitting from the top 1st row of the shawl, focusing on the layout diagram.

We knit the 1st strip - 1st motif according to pattern 1.
Scheme 1

We connect the motifs according to the diagram. The connection points are indicated by arrows and are additionally colored purple.
We knit the 2nd strip - from 2 motifs. At the same time we join the 1st motive.
We connect the motifs according to scheme 2. The connection points are indicated by arrows and are additionally colored purple.
Scheme 2

3rd stripe – of 3 motifs.
4th stripe – of 4 motifs.
5th stripe – of 5 motifs.
Всего 15 мотивов — 5 полос по схеме 1.
The 6th strip of six motifs is knitted according to a modified pattern 3. The motifs are also added during knitting of the last row.

Scheme 3

The orange color in the diagram shows how the leveling row is knitted.
Then two rows of tying the finished product in a circle.
In the diagram, row 1 is indicated in red. In the sample description, this is the 14th row.
We knit the 2nd row of the binding according to pattern 4. In the description, this is the 15th row.
Scheme 4


We perform WTO and wear it with pleasure!

Related posts
1 Comment
Leave a Reply Cancel reply
About the Author

Welcome !
My name is Lilia. The main hobby of my life is knitting. I started with knitting needles and switched to a knitting machine. In 1988 I got acquainted with crochet - Romanian lace. About 10 years ago I became interested in Irish lace and Shetland knitting. And now I’m trying fillet crochet. On this site I want to share with you my 45 years of experience in various knitting techniques.
Latest publications
Пуловер с воротником гольф и снуд
Удобный пуловер оверсайз хорош не только ромбами и «косами». У него практичный воротник гольф, дополненный отдельным шарфом-снудом, который гарантирует еще больше тепла
Свитер Quorra
Жаккардовый жилет с отложным воротником и боковыми разрезами
Вязаный жилет с жаккардовым орнаментом, Vобразным вырезом и отложным воротником в резинку визуально стройнит фигуру, а широкая нижняя планка с разрезами по бокам скрывает лишнее в области бедер.
Жилет Emsworth
Blog Subscription
Be the first to receive new items!


Ваши работы просто прелесть — а в платье ПАВЛИНЬЕ ПЕРО вы просто лесная фея. Спасибо за работы и подробное объяснение к ним.