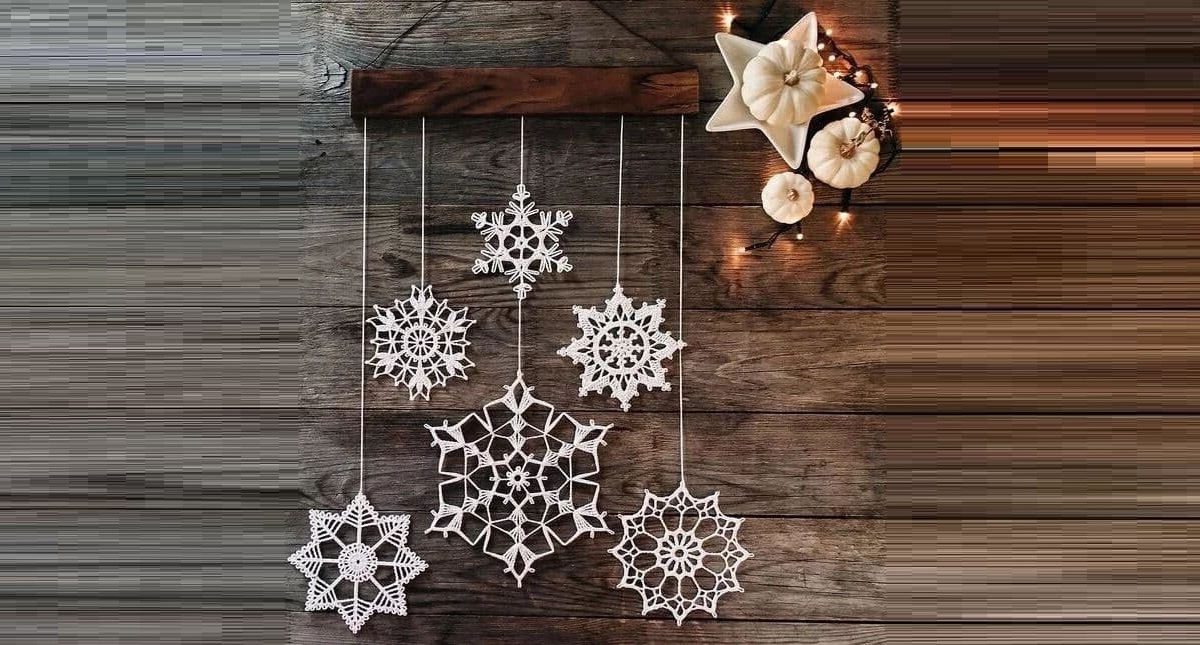
Crocheted snowflakes. Part 2 is here***
Crocheted snowflakes. Part 4 is here***

If the question “What can you do to please your household during the winter holidays?” The answer will be “make something beautiful with your own hands,” then crocheted snowflakes are exactly what you need!
These small winter symbols can be used for a variety of purposes, and they will give a special mood to everyone without exception.
But first you need to choose suitable patterns for crocheting snowflakes, and consider the master class.
Master class on knitting beautiful snowflakes for the New Year

Abbreviations for description:
P6 – pico of 6 VP;
SP – connecting loop;
RLS – single crochet;
VP – air loop;
Dc - double crochet.
Knitting a snowflake:
At the beginning of knitting snowflakes, we collect a chain of 6 chain stitches. Don’t forget about replacing the first columns of the VP:
- 3VP are equal to 1СН;
- 1VP is equal to 1СБН.
1st row: 1VP, 11СН, SP;
2nd row: (2СН, 3ВП) – 6 repetitions, SP;
3rd row: (2 sc in the top of the dc of the second row, under the arch - 2 dc, 4 ch, 2 dc) - 6 repetitions, sp;

4th row:(2SP, in two DC we knit 2SC, under the arch – 1SC, P6, 1SC, 1DC, picot trefoil (P6), 1DC, 1SC, P6, 1SC, 2SC in the SC of the 3rd row, 1VP, skip two loops) – 6 repetitions , SP.

We remove all excess threads, fasten them, and cut them off.
We starch the openwork motif, align it and secure it with pins, and let it dry. The crocheted snowflake is ready.
When the products are ready, they will have to be starched, blocked on the surface, dried and ironed.
How to starch
There are several ways:
- With the help of sugar. Dissolve 12-13 tbsp in one glass of hot water. spoons of sugar. Soak the snowflake in the solution and block it, or dry it on a flat surface.
- Using potato starch. Dissolve 2-3 tbsp in one glass of hot water. spoons of starch. Soak the snowflake in the solution, block it with needles, and dry.
- PVA glue diluted with water 1:2. Block the snowflake, take a brush and saturate the product with PVA glue, then dry.
- From an aerosol can with starch. Such special cans are sold in handicraft stores. Follow instructions for starching.
Snowflake patterns
Scheme 1

Scheme 2

Scheme 3

Scheme 4

Scheme 5

Scheme 6

Scheme 7

Scheme 8

Scheme 9

Scheme 10

Scheme 11

Scheme 12

Scheme 13

Scheme 14

Scheme 15

Scheme 16

Scheme 17

Scheme 18

Scheme 19

Scheme 20

Scheme 21

Scheme 22

Scheme 23

Scheme 24

Scheme 25

Scheme 26

Scheme 27

Scheme 28

Scheme 29

Scheme 30


Related posts
About the Author

Welcome !
My name is Lilia. The main hobby of my life is knitting. I started with knitting needles and switched to a knitting machine. In 1988 I got acquainted with crochet - Romanian lace. About 10 years ago I became interested in Irish lace and Shetland knitting. And now I’m trying fillet crochet. On this site I want to share with you my 45 years of experience in various knitting techniques.
Latest publications
Желтый пуловер со светлыми планками
Удобный пуловер длиной до бедер с ажурными «зигзагами» сияет словно солнце! Края окантованы узкими полосками платочной вязки попеременно песочной и сливочно-белой нитями, что создает приятный контраст с желтым цветом.
Blue pullover
Openwork pullover
Все грани прекрасного: в этой модели соединились несколько воздушно- кружевных узоров, которые смотрятся особенно выигрышно благодаря мягкой пряже из хлопка и волокон сои.
Blog Subscription
Be the first to receive new items!


