
Crocheted snowflakes. Part 5 is here***
Crocheted snowflakes. Part 7 is here***

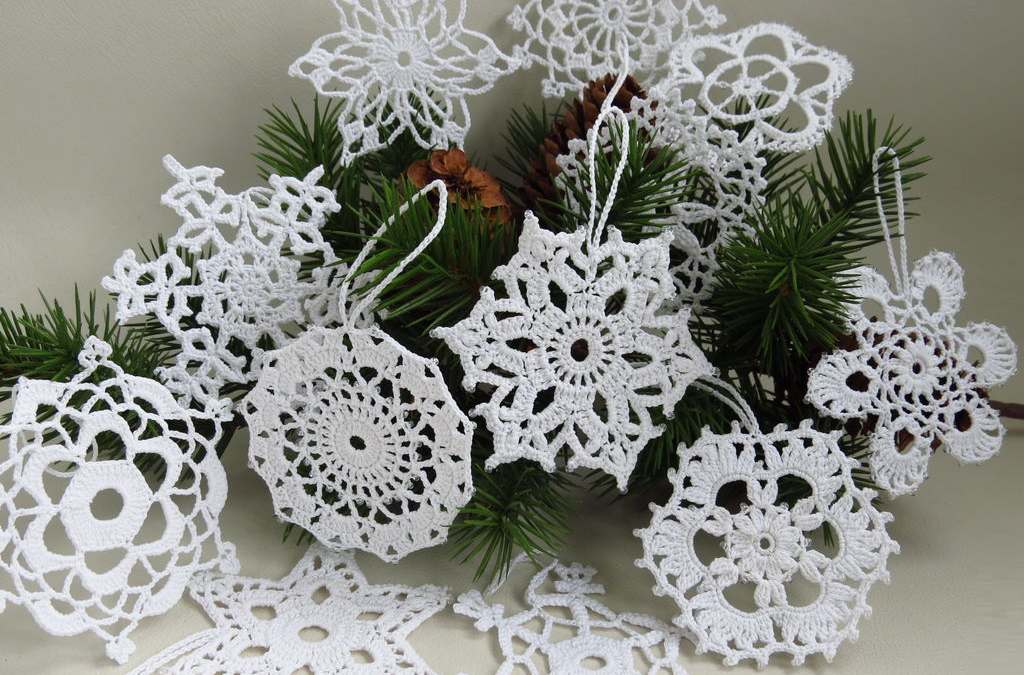
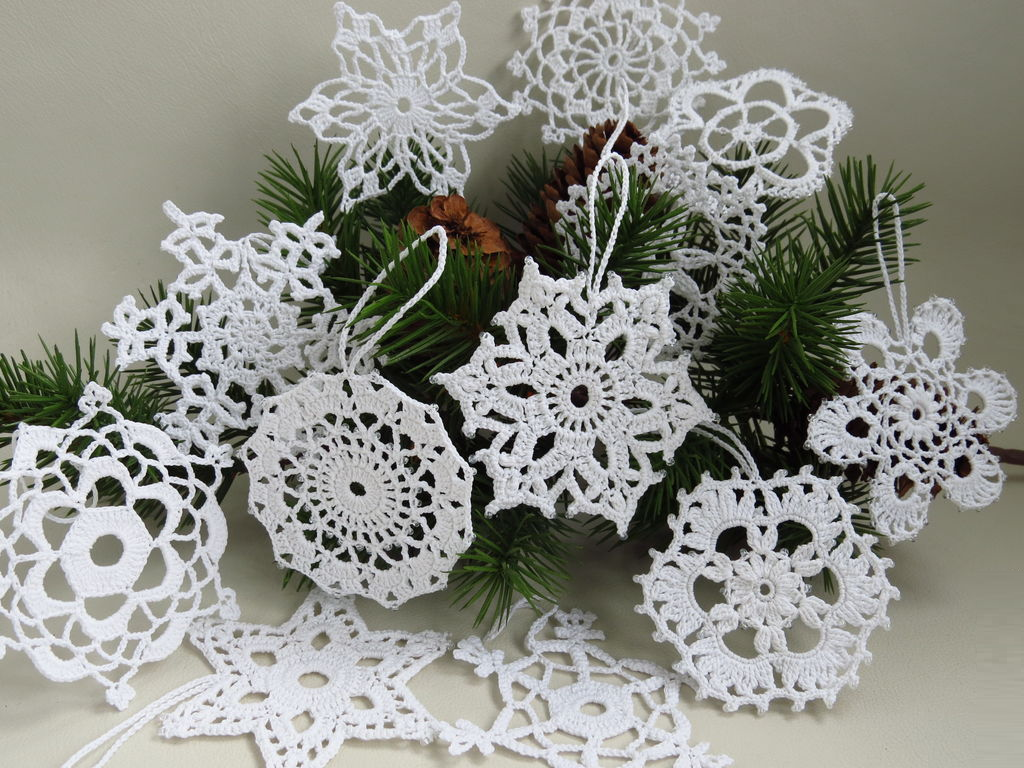
What would New Year be without snowflakes? Every needlewoman will be able to find a variety of designs for these gentle, graceful, elegant beauties, with whom it is simply impossible not to fall in love at first sight. Add your ideas to ready-made diagrams.
You can decorate finished products with original buttons, ribbons, beads, small foil snowballs, in general, with anything you want. There are no restrictions here, a complete flight of fantasy.

The simplest crochet snowflake with detailed description
The size of the finished product is 7.5 cm. But the result will depend on the thickness of the threads and the size of the hook, i.e. may be more or less.

We will knit according to this pattern. If you know how to knit air loops, then almost half the work is already done.

For knitting we need a 1.4 mm hook, thin yarn. Yarn "Snowflake".
We collect a chain of 6 air loops (hereinafter referred to as vp) and close it into a ring.

1 row. We collect two v.p. for lifting and one more ch, then make a yarn over and insert the hook into the center of the chain. We hook the thread and knit a single crochet (hereinafter referred to as the double crochet). We cast on an air loop and once again knit a st in the center of the ring. bn. In this way we repeat 10 more times and close the circle with a connecting loop into the second lifting loop. There should be 13 dc in total.

2nd row. Knit 1 ch. for lifting and another 5 ch. Now insert the hook under the ch. the previous row and knit a single crochet (hereinafter - sc). We collect 5 more vp. and knit st. bn in next ch previous row. We repeat this until the end of the row. There should be 12 arches in total. When knitting the last arch, we do this: cast on 3 ch. and make a yarn over. Insert the hook under the ch. of the previous row and knit a st. Thus, this will help us immediately start knitting the next row without using connecting loops. The photo clearly shows the connection.

3rd row. We knit one v.p. for lifting and another 5 ch, then we knit a double stitch into the next arch of the previous row, again we cast 5 ch. and connect them using a double stitch with the next arch of the previous row. Repeat this until the end of the row. In the last arch we again collect three vp. and make a yarn over, then knit a dc in the first ch we knitted for lifting.

4 row. In this row, all the same actions are repeated as in the previous one. Only instead of 5 v.p. 6 ch should be knitted. At the end of the row in the last chain we knit 4 ch. and make a dc to connect with the arch of the previous row.

5 row. It is knitted exactly the same as the previous ones, only we increase the number of ch. up to 7. And in the last arch we knit 5 chain stitches, and then make a connecting stitch. dc in the first lifting stitch of this row

6th row. As in the previous ones, we do 1 ch. for lifting, then knit 4 ch. and make a picot (cast on 3 ch and join a dc into the fourth ch of the chain that we started knitting). Next, we collect 4 more vp. and connect them with the arch of the previous row using st. Thus we repeat everything until the end of the row. We knit the last arch like this, 4 ch, then we collect another 3 ch. for picot and connect them with dc in 4 ch. our chain, then knit another 4 ch. and fasten the thread. Let's cut it off.

Now all that remains is to wash the snowflake, starch it well, block it on the surface, dry it and iron it.
How to starch
There are several ways:
- With the help of sugar. Dissolve 12-13 tbsp in one glass of hot water. spoons of sugar. Soak the snowflake in the solution and block it, or dry it on a flat surface.
- Using potato starch. Dissolve 2-3 tbsp in one glass of hot water. spoons of starch. Soak the snowflake in the solution, block it with needles, and dry.
- PVA glue diluted with water 1:2. Block the snowflake, take a brush and saturate the product with PVA glue, then dry.
- From an aerosol can with starch. Such special cans are sold in handicraft stores. Follow instructions for starching.

Crochet snowflake patterns
Scheme 1

Scheme 2

Scheme 3

Scheme 4

Scheme 5

Scheme 6

Scheme 7

Scheme 8

Scheme 9

Scheme 10

Scheme 11

Scheme 12

Scheme 13

Scheme 14

Scheme 15

Scheme 16

Scheme 17

Scheme 18

Scheme 19

Scheme 20

Scheme 21

Scheme 22

Scheme 23

Scheme 24

Scheme 25

Scheme 26

Scheme 27

Scheme 28

Scheme 29

Scheme 30


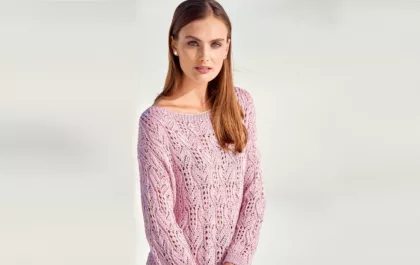
Пуловер с ажурным узором из «листьев»
Пуловер нежно-розового цвета ручной работы, связанный ажурным узором из шелковистой пряжи.
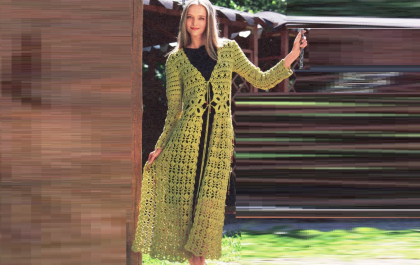
Knitted coat with an openwork pattern in light green color
Knitted coat with an openwork pattern in light green color