
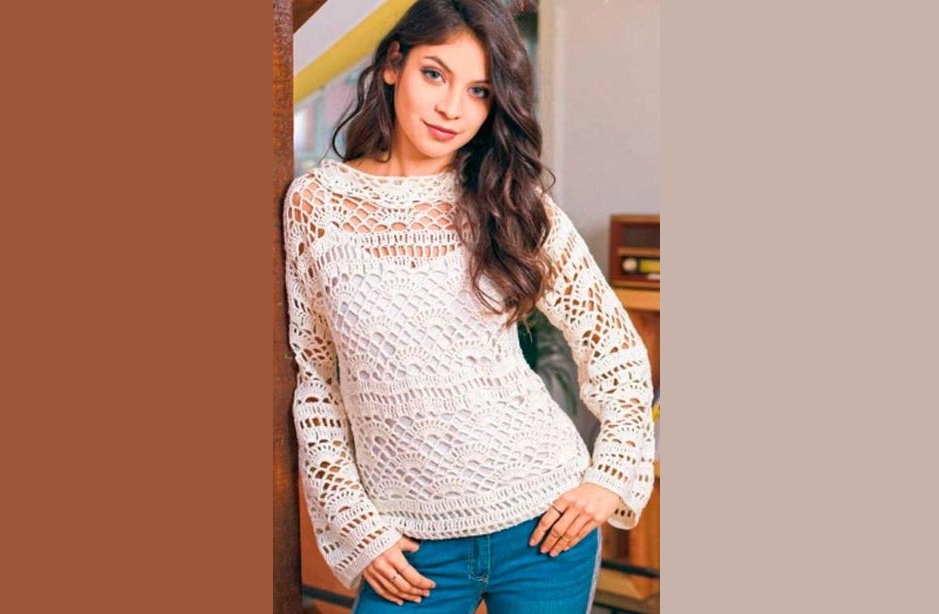
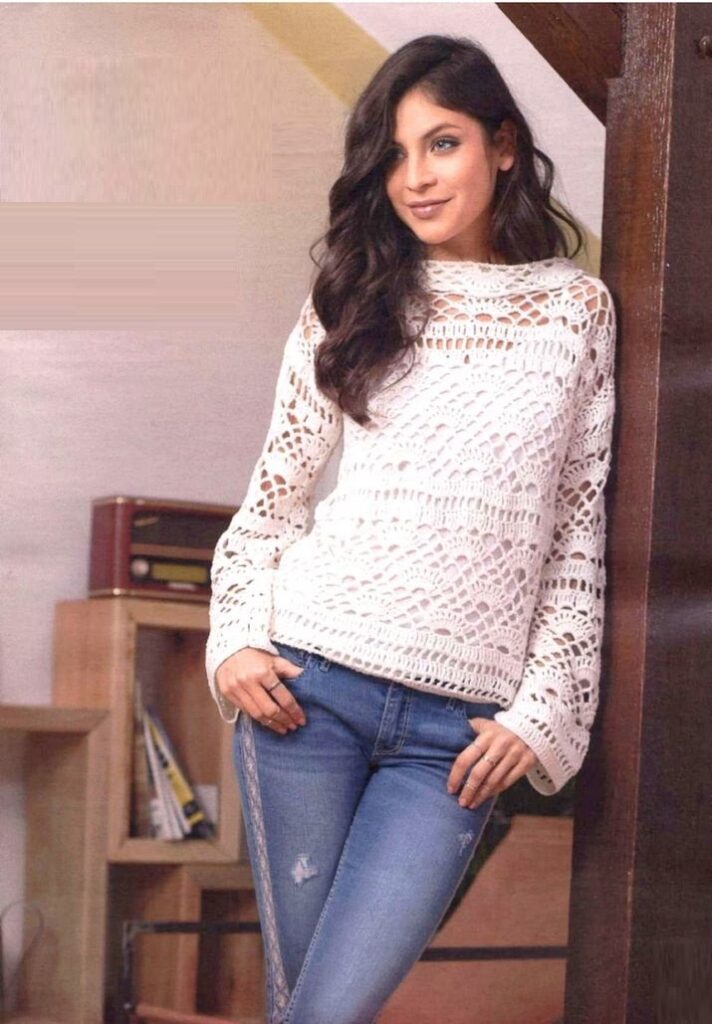
A white openwork jumper looks incredibly feminine and romantic. It’s especially nice that it can be worn either backwards or forwards, creating completely different looks.
DIMENSIONS
36/38 (44/46)
YOU WILL NEED
Yarn (100% cotton; 125 m/50 g) - 400 (500) g color. ecru; hook No. 4; 2 buttons “lace rosette” (diameter 25 mm) white.

PATTERNS AND DIAGRAMS
LACE PATTERN
The number of loops in the initial row is a multiple of 16 + 1. Knit according to. crochet pattern pattern. Start with loops before the repeat, repeat the repeat constantly, finish with loops after the repeat. Perform rows 1–3 once, then constantly repeat rows 2–16.

KNITTING DENSITY
17.5 p. initial row x 8 r. = 10 x 10 cm.
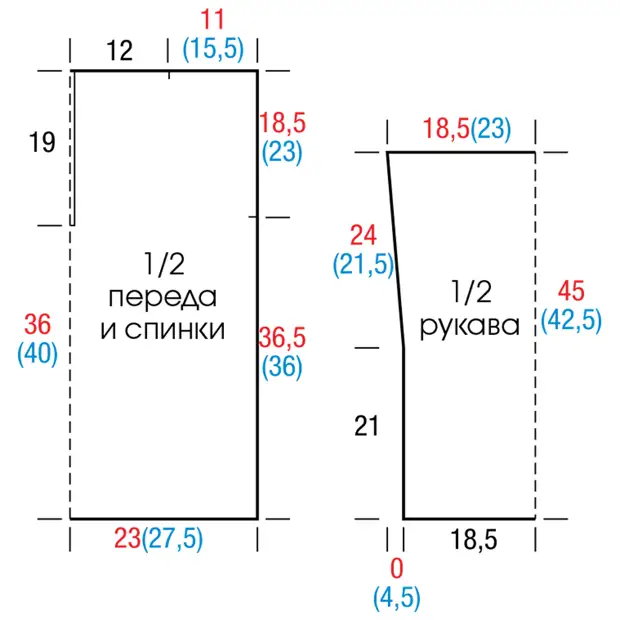
COMPLETING OF THE WORK
BEFORE
Make a chain of 81 (97) v.p. + 4 v.p. rise and knit in a lace pattern.
After 55 cm = 44 rows (59 cm = 47 rows) from the initial row, finish the work.
BACK
Knit as before, but with a slit. To do this, after 36 cm = 29 rows (40 cm = 32 rows) from the initial row, skip the middle loop, knit both sides further separately and finish the work at the height of the back.
SLEEVES
Make a chain of 65 vp for each sleeve. + 4 v.p. rise and knit in a lace pattern.
For size 2, after 21 cm = 17 rows from the starting row, add 1 tbsp on both sides. with 2/n.
Then add sleeves for bevel on both sides for the next 21.5 cm, evenly distributed, 4 cm acc. pattern. We recommend making the pattern in the original size, applying work to it and monitoring the stitch increases.
After 45 cm = 36 rows (42.5 cm = 34 rows) from the starting row, finish the work.

ASSEMBLY
Sew shoulder seams at 11 (15.5) cm respectively, sew in sleeves. Sew side seams and sleeve seams.
For a turn-down collar, tie the edges of the neckline 86 st. s/n.
Then perform the 3rd–8th rows of the lace pattern, while in the 1st row in every 2nd st. s/n perform 2 tbsp. with 2/n = 129 p.
After 9 cm = 7 rows from the beginning of tying, finish the work. Tie the edge of the cut, including the ends of the collar, with 1 row of stitches. b/n.
Sew buttons to the right side of the cut, sewing the top button approximately 1 cm below the beginning of the collar, the bottom button at a distance of approx. 10 cm. Fasten the buttons through the holes of the pattern.


Pullover with a combination of patterns
Пуловер полон сдержанной элегантности: он связан лицевой гладью и декорирован ненавязчивым ажуром, сквозными дорожками и оборками с полупатентным узором на рукавах.
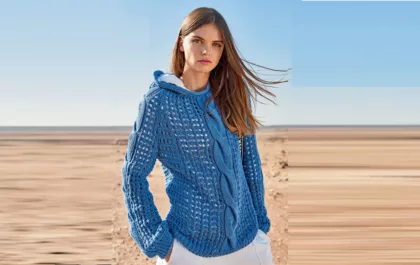
Синий пуловер реглан с косами и сетчатым узором
Свободный силуэт, рукава реглан и неотъемлемая часть худи – капюшон… В нашей версии классическая спортивная модель связана из хлопчатобумажной пряжи сетчатым узором и отделана «косами» формата макси.