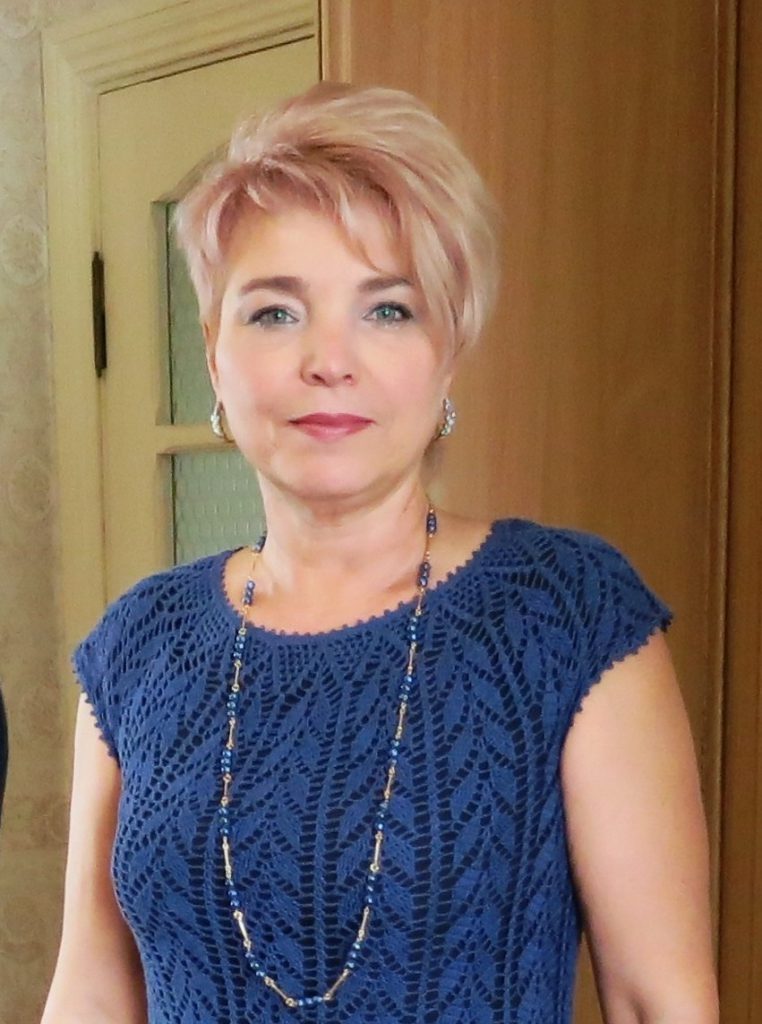
Fashionable, original, designer crocheted jumper. The jumper is knitted using the freeform technique, which means that when knitting a jumper you can show all your creative talents. The jumper is knitted from yarn of light “sandy” shades. The knitted jumper has uneven edges, which adds extra charm. Such a jumper will be unique and inimitable.

Model Elena Sinyukova
JUMPER “Desert”
SIZE 50
The model is crocheted using the freeform technique.
You will need: в общей сложности 900 – 1000 г разнообразных по составу, фактуре, толщине ниток: по 200 г хлопка (400 м х 100 г) белого цвета и цвета «топленого молока», 200 г хлопка с вискозой (400 м х 100 г) светло-бежевого цвета, 200 глина или льна с вискозой (600 м x100г)молочного или сероватого оттенка, 200 г вискозы или хлопка с вискозой (250 мг 100 г) для бурдона; деревянные бусины разного размера для декора, крючки, подобранные по толщине к пряже.
Elena Sinyukova is a talented and original artist, whose works, made using the freeform technique, attract special attention from our readers, surprising and inspiring them for new projects.
This time the author brings to your attention his new developments - free knitting using bourdon (see MK below).
It is almost impossible to copy it, but by mastering the techniques, showing imagination and freedom of thinking, you can create your own unique work.
To begin, make a high-quality pattern from dense material, taking into account the individual characteristics of the figure. Choosing the right product shape will also be the key to the success of your work.
Then select colors and textures of threads that are similar in shade in any pastel colors. Fold the bourdon threads in six folds to give relief to the product.
Start knitting from the back piece in a vertical direction from the side seam, gradually increasing the fabric and regularly applying it to the pattern so as not to go beyond its boundaries.
Since we knit with threads of different thicknesses, we must constantly monitor the number of loops in rows made with thick and thin threads.
Add loops when moving from thick to thin thread and vice versa.
It is also necessary to monitor the number of loops when turning and bending the bourdon. Form a “ragged” edge at the bottom of the product.
On the side of the longer edge of the product, make holes on the bourdon (tightly).
Knit the front in the same way as the back.
Make darts at the shoulder seams.
Start knitting from the side seam, reach the dart and knit the fabric on one side of the dart. Then, from the high point of the chest, cast on a chain of air loops with a length equal to the length of the dart to the shoulder seam. And knit on the other side of the dart, gradually increasing the fabric to the waist below.
Carry out the dart on the other side in the same way.
In the presented model, the sleeves are made without the use of bourdon. Start knitting in a vertical direction from the seam.
Make the shoulder roll strictly according to the pattern.
Steam the connected parts of the product.
Sew the sleeves and tie them along the bottom with single crochets using a thin thread, without turning the product, tie them again with single crochets (insert the hook into the loops of the previous row) and finish tying the sleeves with a “crawfish step”.
Also tie the neck of the product.
Decorate the longer edge of the bottom of the product with wooden beads of different sizes, cords, and tassels.


Explanations for performing the “Desert” jumper
For ease of perception, the sample is made with threads of different colors, since the photograph does not convey well the different shades and textures of white, as in the original model. It is better to select the main threads in similar tones, but of different thicknesses. Any thread with shine (viscose, microfiber) is suitable for bourdon. And a very thin contrasting thread for knitting - viscose.

Knitting is done vertically from the side seam. Tie a chain of VP (everyone determines the number for themselves; the fewer loops, the more zigzags and turns there will be), and perform a sc on it. Having knitted a couple of rows, we again cast on VP (1) and knit RLS on them, forming an armhole line on one side and a smooth descent to the waist on the other (2).
To give the fabric a convex and relief texture, use an auxiliary thread (bourdon) of arbitrary length (3). Perform a VP, picking up the burdon at the bend (4), and knit a sc, clasping the auxiliary thread (bourdon) through the VP (5). Having made a certain number of loops, turn the knitting (6) and continue working the sc through 1 ch, inserting the hook under the ch of the previous row (7). Leave the knitting with bourdon and tie a thread of a different color (texture) on the other side (8).

To give the fabric a convex and relief texture, use an auxiliary thread (bourdon) of arbitrary length (3). Perform a VP, picking up the burdon at the bend (4), and knit a sc, clasping the auxiliary thread (bourdon) through the VP (5). Having made a certain number of loops, turn the knitting (6) and continue working the sc through 1 ch, inserting the hook under the ch of the previous row (7). Leave the knitting with bourdon and tie a thread of a different color (texture) on the other side (8).
Work sc (9) several rows. Knitting is arbitrary, everyone chooses the number of rows, loops and alternation of threads for themselves. Leave a loop, do not break the thread (10).

Turn the knitting, perform a bourdon turn. Please note: Working thread behind work, loop before work! Make a VP and several (2-4) sc in one base loop (11). Leave the knitting with the bourdon, tie the thread on the other side, cast on a chain of VP and make a sc on them (12). (13) Knit several rows of sc (as many as you want). I try to turn the rows smoothly so that there is no straight edge, but again this is a matter of taste for each knitter. (14) Get to the place where you left the bourdon. (15) Perform a turn (16) and knit in this way as much as you want.


(17) Return to the loop left earlier (10), with this thread perform a DC through one VP. DO NOT forget that there will be an armhole on this side! That is, immediately cast on a larger number of loops and form an armhole line. (18) Turn the work and knit with bourdon.

Leave the bourdon (19) and use the working thread (in this case) to make a SC, forming the waist line in such a way as to return to the bourdon.

(20) Pick up the bourdon and continue working with the bourdon.

When the bourdon ends, tightly tie the sc, hiding the ends of the bourdon under the knitting. (21) This is how you build up the fabric, constantly applying it to the pattern.


Techniques for knitting individual elements and forming fabric using the freeform technique are shown not for the purpose of copying, but only as an example. It is impossible to repeat a model using this technique, and it is not necessary, be creative and experiment, because this is the main advantage of freeform - you will definitely come up with something of your own.


Related posts
About the Author

Welcome !
My name is Lilia. The main hobby of my life is knitting. I started with knitting needles and switched to a knitting machine. In 1988 I got acquainted with crochet - Romanian lace. About 10 years ago I became interested in Irish lace and Shetland knitting. And now I’m trying fillet crochet. On this site I want to share with you my 45 years of experience in various knitting techniques.
Latest publications
Жаккардовый пуловер леопардовым узором BUDDIE
Пуловер ВАВЕТТ
Пестрый пуловер с «косами» BASTIA
Blog Subscription
Be the first to receive new items!


