
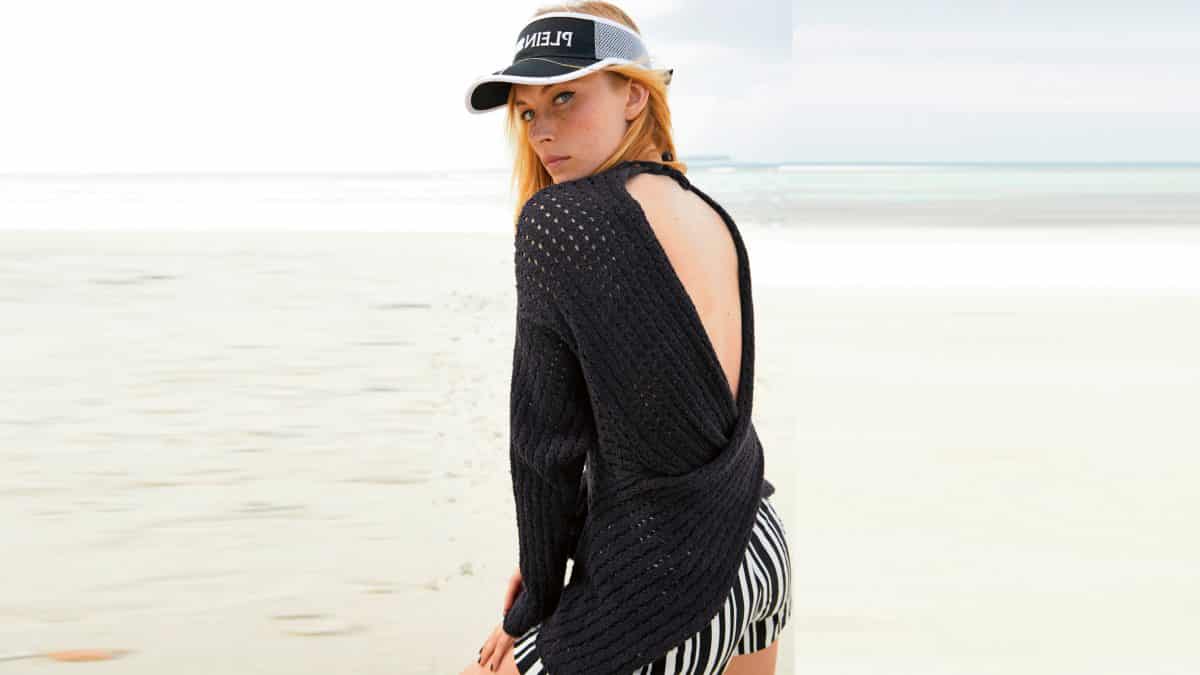

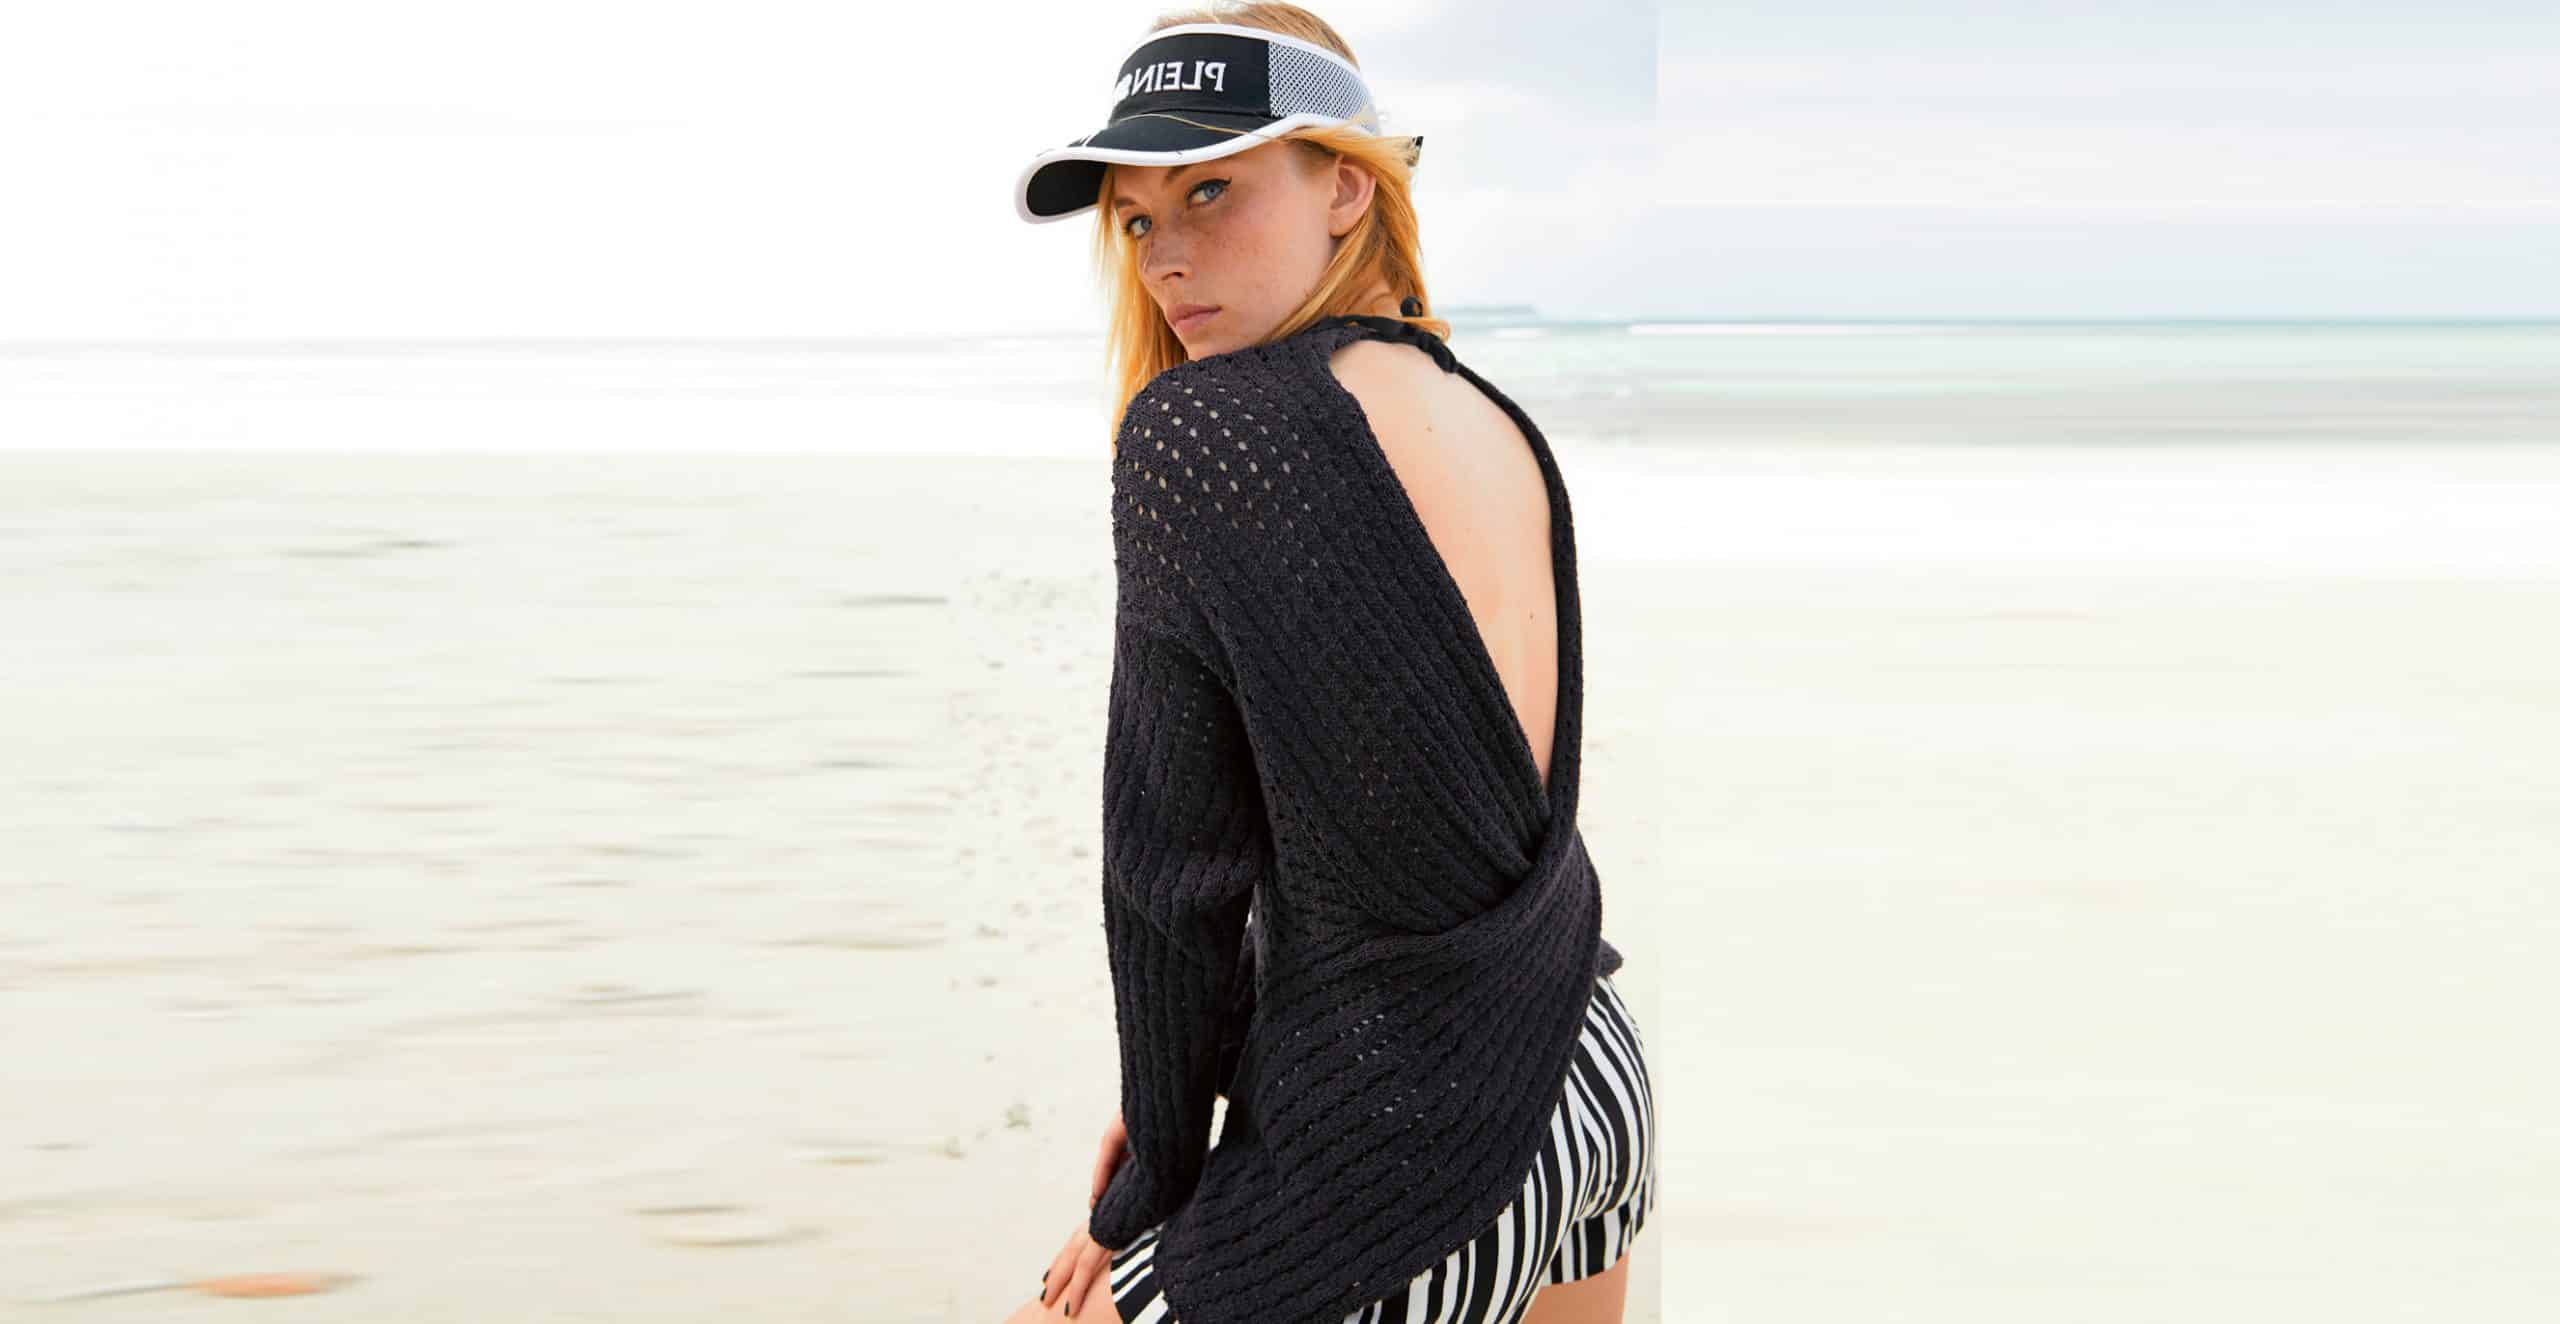
Creating drapery by twisting pieces is one of those techniques that gives a knitted product its unique character.
Dimensions
36/38 (40/42) 44/46

You will need
Yarn (100% silk; 165 m/50 g) – 450 (500) 550 g black; knitting needles No. 3; 50 (55) 60 cm black braid 1 cm wide.
Patterns and schemes
Through pattern
The number of loops is a multiple of 4 + 1 + 2 chrome. Knit according to the given pattern. It shows facial rows. In the purl rows, purl the loops and yarn overs. In width, start from the edge. and from the loop before the rapport, repeat the rapport, finish the edge.
Repeat in height from 1st to 8th row. When making decreases, make sure that the number of nikids and loops knitted together inside the pattern is the same.

Knitting density
23 p. x 40 r. = 10 x 10 cm, knitted with an end-to-end pattern using knitting needles No. 3.
Attention
The back and front consist of stripes A and B (= stripe A and B for each piece), which are knitted from the shoulder edges from top to bottom. The arrows in the diagram indicate the direction of knitting.
Completing of the work
Back
On knitting needles No. 3, cast on 55 (59) 63 sts for band A and knit in a through pattern.
After 57 cm = 228 rub. (59 cm = 236 rub.) 61 cm = 244 rub. from the cast-on row, decrease from the left edge for the outer bottom bevel, first 1 time 1 p., then 6 (4) 2 times in every 4th p. and 21 (25) 29 times in every 2nd r. 1 p. each
At the same time after 60 cm = 240 r. (62 cm = 248 rub.) 64 cm = 256 rub. from the cast-on row, decrease from the right edge for the inner (rounded) bevel, first 1 time 1 p., then 7 (5) 3 times in every 4th p. and 9 (13) 17 times in every 2nd r. 1 p., after that in every 2nd p. close 4 times in every 2nd r. 2 p. each
After 74 cm = 296 rub. (76 cm = 304 rub.) 78 cm = 312 rub. bind off the remaining 2 sts.
Lane B should be done in a mirror image.
Before
Knit strips A and B as for the back.
Sleeves
On knitting needles No. 3, cast on 551 (55) 59 sts and knit in a through pattern.
At the same time, starting from the cast-on row, add on both sides for bevels 12 (10) 8 times in every 8th row, 8 times in every 6th row, 4 (8) 12 times in every 4th row. and 10 times in every 2nd r. 1 p. each, include added loops in the pattern = on knitting needles 119 (127) 135 p.
After 45 cm = 180 rub. from the cast-on row, cast on for lateral expansion on both sides, first 1 time, 2 p., then in every 2nd r. another 3 times for 2 sts, 2 times for 3 sts and 2 times for 4 sts, include the added loops in the pattern.
Simultaneously with the 1st increase for lateral expansion, close off the middle 3 stitches and knit both sides separately.
For the long edge, close from the inside 26 (27) 28 times, 2 sts in every 2nd r.
At the same time after 49 cm = 196 rubles. from the cast-on row, close for the short edge on the outside, first 1 time 2 p., then in every 2nd p. * 2 times 1 p. and 1 time 2 p., from * repeat 5 more times, after that in every 2nd p. close another 0 (1) 2 times 2 p.
After 58.5 cm = 234 rubles. (59 cm = 236 rub.) 59.5 cm = 238 rub. knit the remaining 2 stitches together. Cut the thread and pass its end through the last loop.
Assembly
Sew the parts together according to the diagram. The diagram shows the back to the middle of the sleeve. The drawing of the pattern parts and the connection diagram of the parts show the same alignment icons by which the parts are connected to each other.
Advice
For greater clarity, lay out the front pieces on the work surface with the right side up and sew the seams one by one: start with the shoulder seams, connecting the cast-on edges of stripes A and B. Cross the front and back stripes, placing strip A on strip B.
Position the sleeves so that the marks ** (see diagram) align with the middle of the sleeves. Sew the sleeves to the front and back along the long edges between the * and • marks, then along the short edges between the • and o marks.
Then fold the front and back wrong sides and sew the side seams to the o mark.
Then sew the seams of the sleeves.
At the neck level, the strips can be connected to each other with several stitches.
Cut the braid into two equal sections and sew one end of the section to the shoulder seams at the neckline on the inside. Tuck and sew the cut ends at the free ends. The width of the neckline can be adjusted using ties.

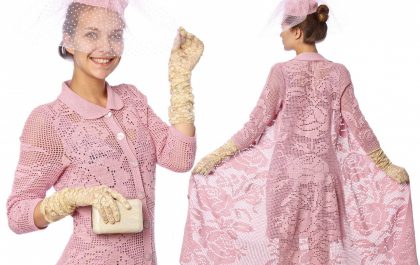
Set “Crystal Rose”
Pink flowers on a long openwork coat and a miniature hat with a veil create a romantic and mysterious image.
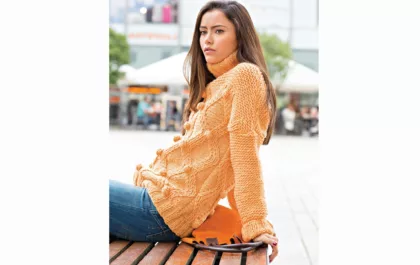
Пуловер спицами с узором из шишечек и ромбов
Пуловер спицами с узором из шишечек и ромбов со спущенными рукавами добавит вашему образу непринужденности и легкости. Натуральная шерстяная пряжа создаст для вас ощущение тепла и вы будете чувствовать себя комфортно даже когда на улице холод и мороз.