
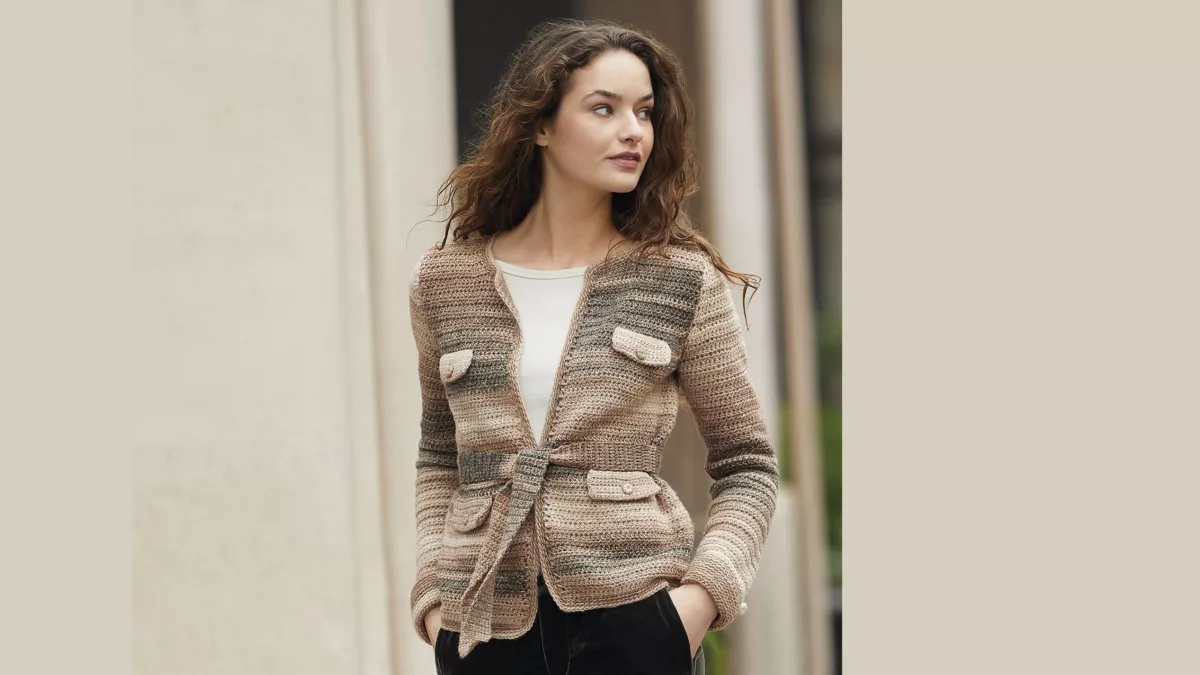
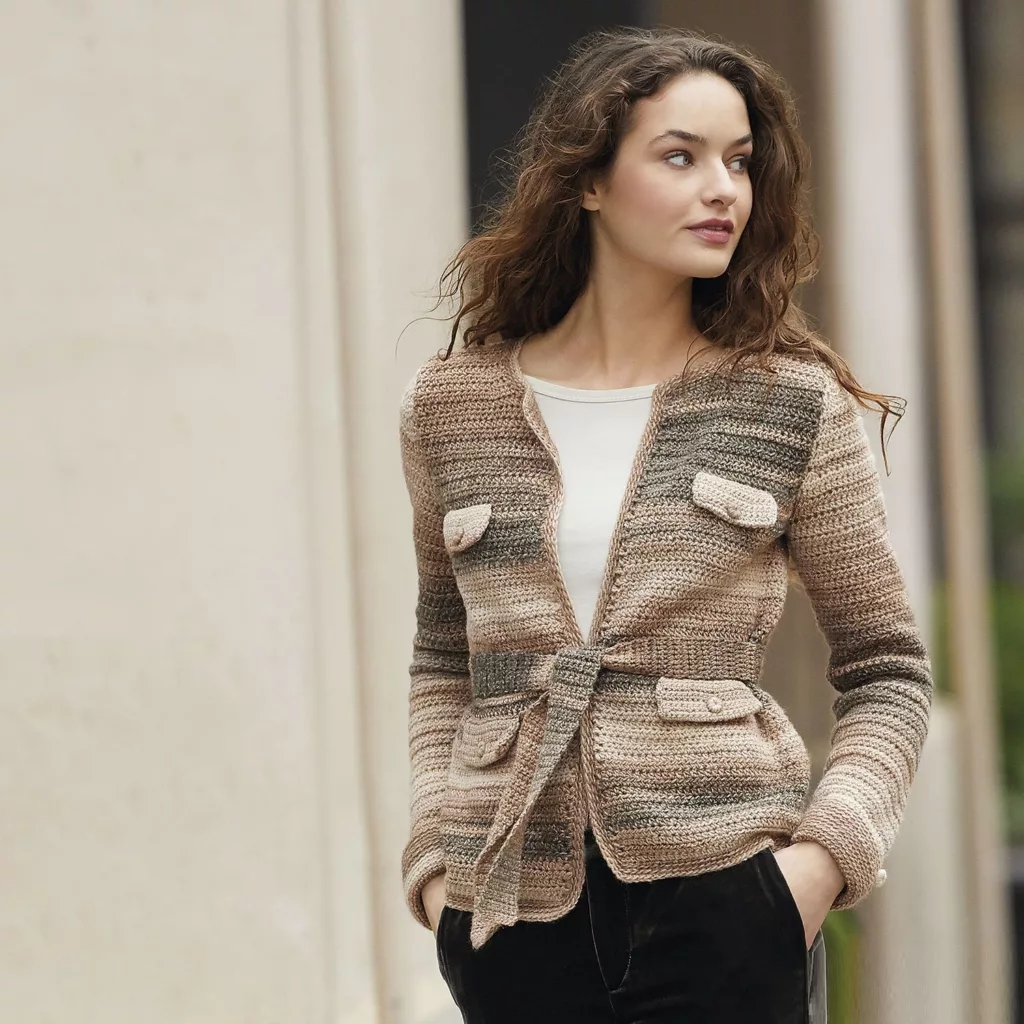
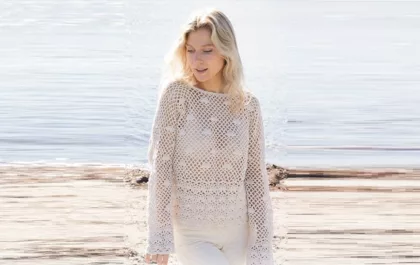
The model is based on sectionally dyed threads in delicate beige and brown tones. The fronts and back are crocheted in one piece up to the armholes, and then separately. The edges of the jacket are tied with several rows of single crochets. The wide belt is made with double crochets and secured in the middle of the back. Narrow sleeves are complemented by wide cuffs. A nice detail: the decorative flaps are secured with buttons trimmed with the same thread.
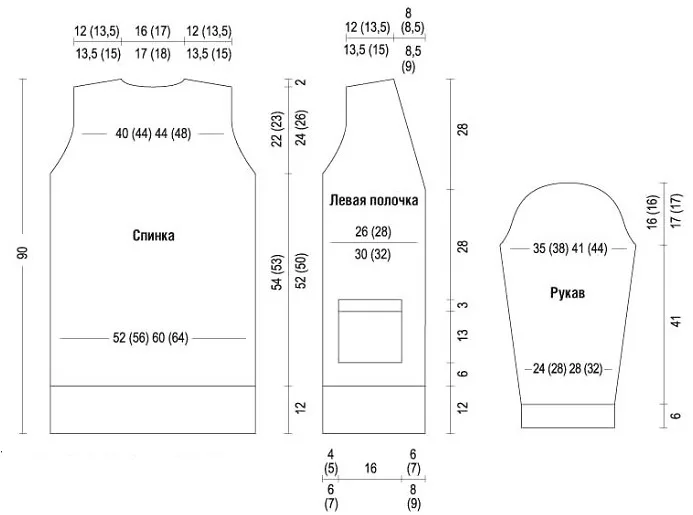
Dimensions: 38/40 (42/44) 46/48 (50/52)
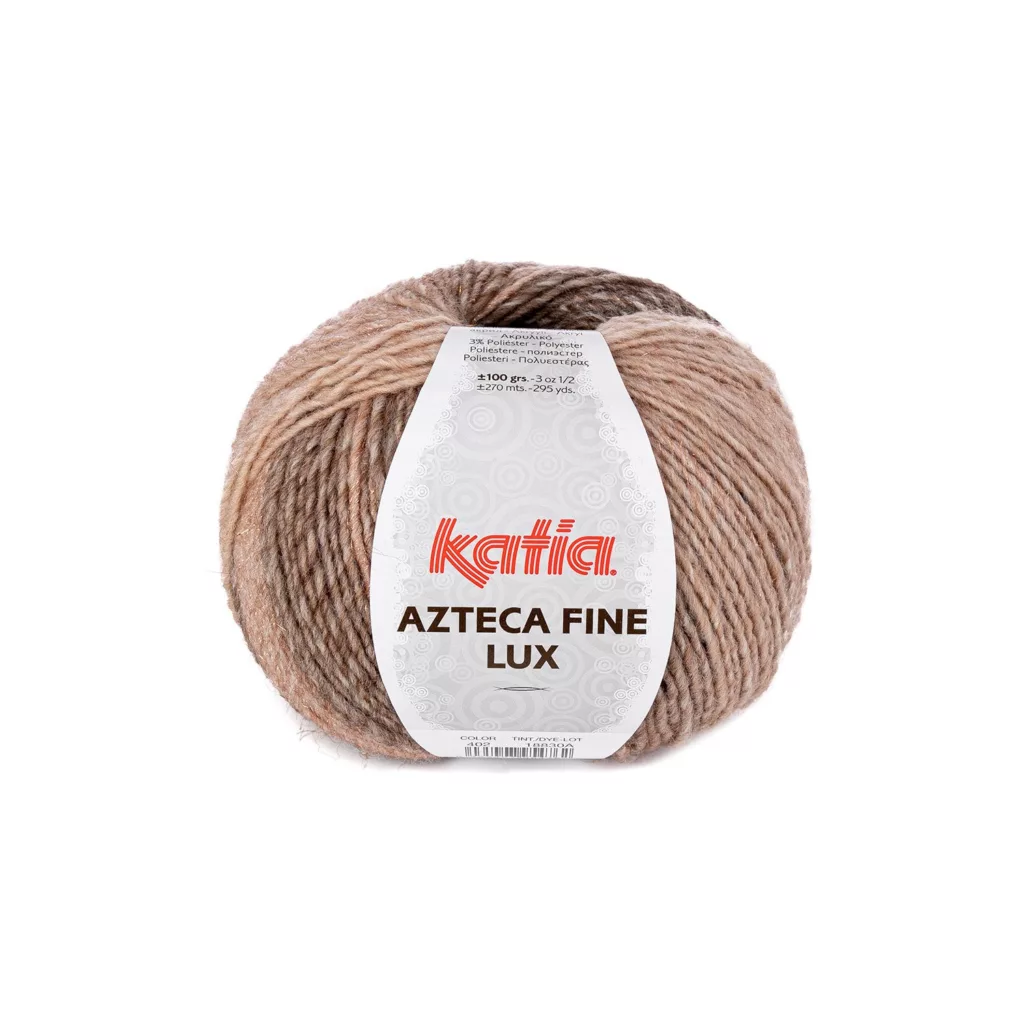
You will need: section-dyed yarn Katia Azieca Fine Lux (52% wool, 45% acrylic, 3% polyester; 270 m/100 g) – 5 (5) 6 (6) skeins in beige-brown tones (No. 402); knitting markers; 8 plastic rings with a diameter of 1 cm (for decorative buttons); hook No. 4.5.
Decrease 2 p: make 1 yarn over, insert the hook into the next 3rd stitch of the previous row (skip 2 stitches) and pull the thread = 3 stitches on the hook. Make 1 yarn over and knit all 3 stitches = 1 stitch on the hook.
Decrease 1 p.: make 1 yarn over, insert the hook into the next 2nd stitch of the previous row (skip 1 stitch) and pull the thread = 3 stitches on the hook. Make 1 yarn over and knit all 3 stitches = 1 stitch on the hook.
Increase 1 p: knit 2 sts. s/n from 1 p.
Knitting density: p/st. s/n (hook No. 4.5) – 15 p. x 12 r. = 10 cm x 10 cm.
Note: The front and back are knitted in one piece up to the armholes, then the pieces are knitted separately.
Description of work:
perform the initial chain of 140 (154) 164 (180) v.p. and knit p/st. s/n.
Note: knit instead of the 1st st. at the beginning of each row 2 ch.
After 34 cm from the starting row, divide the work into 3 parts and mark the boundaries of the parts with markers.
Note: do not knit in this row!
Distribute the loops and attach markers as follows: 35 (39) 41 (45) sts for the right front, 1 marker, 70 (76) 82 (90) sts for the back, 1 marker, 35 (39) 41 (45) sts for the left shelf.
For the right front, knit the first 32 (36) 38 (42) sts, and set aside 3 sts for the armhole without knitting. Turn the work and continue knitting.
From the next front row and further in each next front row, decrease for the armhole at a distance of 2 sts from the left edge 3 x 2 sts. (3x2p., 1 x1 n.)3x2p.,2x1p.(4x2p.,2x1n.) =26 (29) 30 (32) p.
For the neck after 12 (13) 14 (15) cm from the beginning of the armhole, stop knitting at the end of the purl. row 8 (9) 10 (11) p.
For rounding decrease the cutout along the inner edge at a distance of 2 stitches from the edge in each next 2nd row. 2 x 2 p. = 14 (16) 16 (17) p.
After 1 cm from the beginning of the neckline, cut the thread and finish the work.
For the back continue knitting 70 (76) 82 (90) sts.
For armholes knit as follows: 3 stitches, knit a row until the last 3 sts, do not knit these 3 sts, turn the work and knit a purl row. In each next front row, decrease for the armholes on both sides at a distance of 2 sts. opening 3x2p. (3x2p., 1x2p.) 3x2p., 2x1p. (4x2p., 2x1 p.) = 52 (56) 62 (64) p.
Through 20 (21) 22 (23) cm from the beginning of the armholes, cut the thread and finish the work.
For the left shelf continue knitting the postponed 35 (39) 41 (45) sts.
Knit symmetrically to the right front.
Sleeves: perform the initial chain of 40 (44) 46 (50) v.p. and knit p/st. s/n. Note: knit instead of the 1st st. at the beginning of each row 2 ch.
For bevels add on both sides at a distance of 2 sts from the edge in each next 12th row. 4 x 1 p. = 48 (52) 54 (58) p.
For okata after 46 cm from the initial row, stop knitting the first and last 3 stitches (on the right, knit 3 stitches on the left: stop knitting 3 stitches], then decrease on both sides at a distance of 2 stitches from the edge in each next 2nd row. 7 x2 p.(8×2 p.) 8×2 p., 1 x1 p.(9×2 p.) 14 (14) 14 (16) p.
After 16 (17) 18 (19) cm from the beginning of the okat, cut the thread and finish the work.
Assembly: perform shoulder seams by knitting 1 row on the wrong side. Art. b/n.
Neck trims and trim: starting from the right side of the work, knit 1 r. Art. b/n along the edge of the neck of the back and left front, along the edge of the front, along the bottom edge of the jacket, then along the edge of the right front and neck.
At the same time, mark the 1st st with a marker, knit 2 sts from 1 st to round the corners. Finish the row at the 1st st and knit the 3rd round. row of st. b/n behind the back wall of the loop of the previous row. Cut the thread and finish the job
Cuffs: sew the seams of the sleeves by knitting 1 row on the wrong side. Art. b/n. Knit 1 p. Art. b/n along the lower edge of the sleeve, mark the 1st st with a marker and continue knitting the circle. rows of st. b/n behind the back wall of the loop of the previous row.
After 6 cm from the beginning of the cuff, cut the thread and finish the work.
Sew the sleeves into the armholes using a mattress stitch, connecting the middle of the sleeve to the shoulder seam.
Top decorative flaps: perform the initial chain of 16 v.p. knit st, b/n.
Note knit instead of the 1st st. at the beginning of each row 1 ch.
Knit 8 p., in the next row decrease on both sides at a distance of 1 p. from the edge by 1 p. = 14 p.
Knit another 8 rows... cut the thread and finish the work
Knit the 2nd flap in the same way.
Fold the flaps in half and sew the edges together with a mattress stitch.
Bottom decorative flaps: complete the initial chain of 20 v.l. and knit st. b/n.
Note knit instead of the 1st st. at the beginning of each row 1 ch. Knit 8 rows, in the next row decrease on both sides at a distance of 1 stitch from the edge by 1 stitch. 18 stitches. Knit another 8 rows, cut the thread and finish the work.
Knit the 2nd flap in the same way.
Fold the flaps in half and sew the edges together with a mattress stitch.
Belt: perform the initial chain of 9 v.p. and knit p/st. s/n.
Note, knit instead of the 1st st. at the beginning of each row 2 ch.
After 130 (140) 150 (170) cm from the starting row, cut the thread and finish the work.
Decorative buttons: using a tapestry needle and Katia Azteca Fine Lux thread, sew the plastic rings tightly so that there is no hole left in the center.
Sew 1 button in the middle of each flap.
Sew small flaps at the top of the shelves at the armhole level.
Sew large flaps at a distance of 20 cm from the bottom edge of the shelves (see pattern).
Turn the cuffs to the front side along the line of the initial row and sew 1 button on each sleeve, while capturing 2 layers (cuffs and sleeves).
Sew 2 buttons in a row along the width in the middle of the belt (see pattern).
Place the middle of the belt in the middle of the back at a distance of 24 cm from the bottom edge and sew with several stitches, securing the belt only in the place where the decorative buttons are sewn.

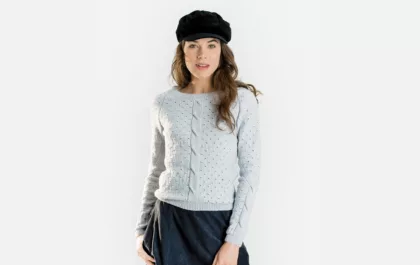
Openwork pullover with “bumps”
Ажурный пуловер с «шишечками», связанный снизу вверх из пряжи DROPS Belle
Классический джемпер с косами и вырезом на спине
Когда вязание проникается духом Высокой моды, рождается такой пуловер из тонкой мериносовой шерсти. Жемчужно-серый цвет создает прекрасный фон для милого ажурного узора и исключительных деталей: рукава, перед и спинка украшены «косами», глубокий каплевидный вырез сзади соединен шифоновой лентой в тон пряжи.