
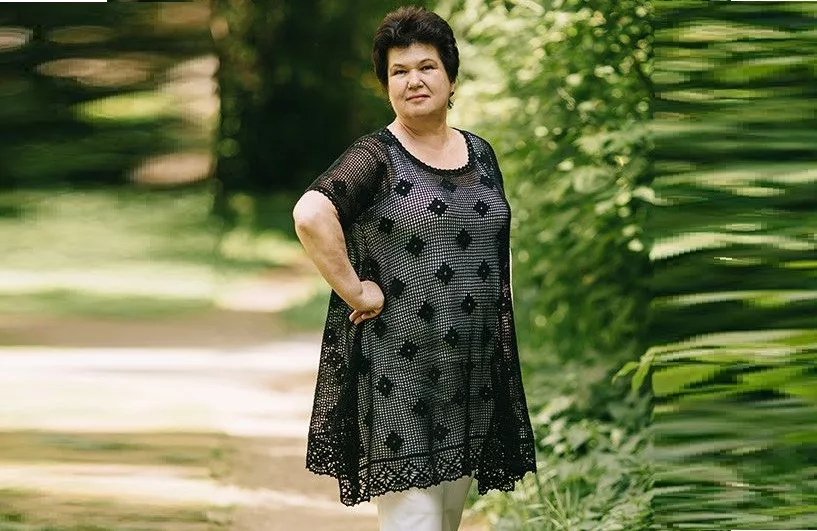
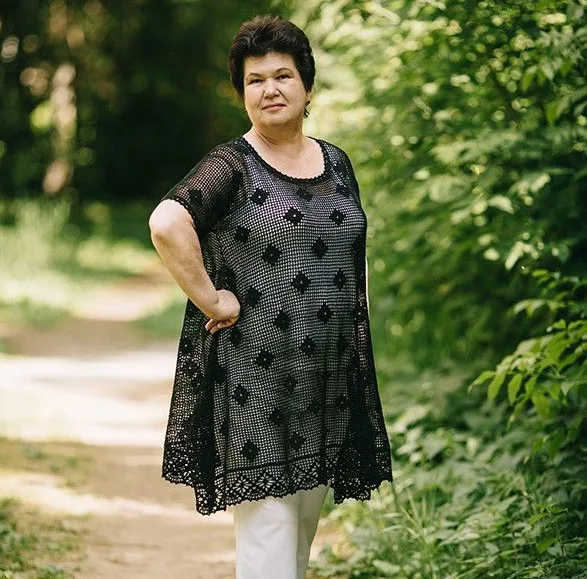
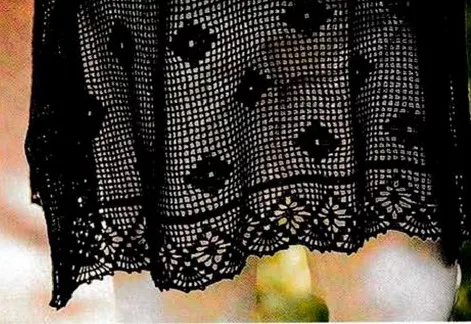
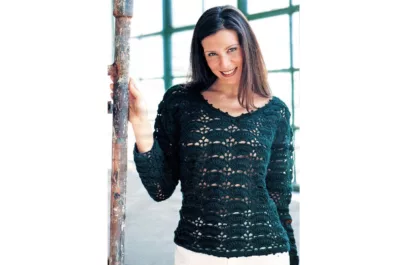
The black color is perfect! This elegant tunic, made using the fillet technique, is worthy of becoming an absolute hit in the summer wardrobe of every fashionista.
Model Valentina Dyachenko
Size: 50-52 (Russian 56-58)
You will need: yarn “Anna 16” (100% mercerized long-staple cotton, 530 m/100 g) – 500 g black, hook No. 0.85.
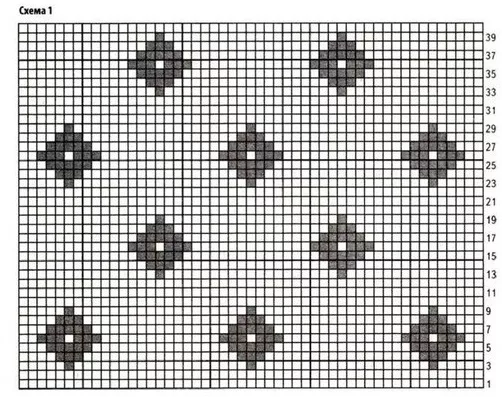
Main pattern: fillet mesh - 1 tbsp. s/n, 2 air. p., 1 tbsp. s/n = 4 tbsp. s/n.
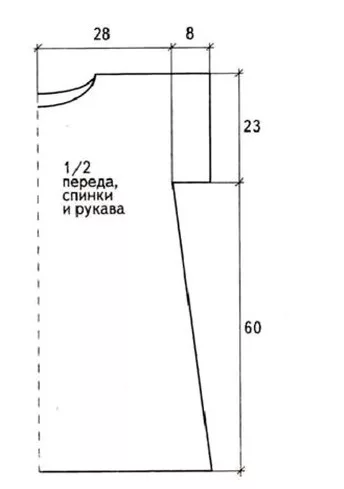
Back/front: dial the initial chain of 258 air. p. + 3 air. p. = 86 fillet cells.
Knit 60 cm = 80 rows according to pattern 1.
Back: knit 14 rows straight according to pattern 1, then decrease for the neckline according to pattern 2.
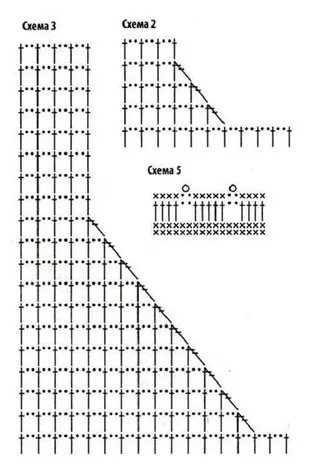
Shelf: knit a neckline 18 rows high (see diagram 3) and form a shoulder from 20 fillet squares.
Sleeves: sew shoulder seams checkered. Measure 30 fillet squares from the shoulder seam along the back and front panel and secure.
Attach the thread where the armhole is fixed and knit with fillet mesh in circular rows to the desired sleeve length.
Side Angle: attach the thread to the bottom of the front hem and start knitting according to pattern 1 until the last 2 squares remain before the armhole fixation point.
Knit 2 tbsp. s/n on the shelf and 1 tbsp. s/n in the center of the armhole fixation (4 loops on the hook), turn the work, and knit 2 treble s/n (6 loops on the hook).
Knit these 6 stitches together and continue until the end of the fabric.
At the end, turn the work and continue to knit until the last 2 squares before the corner. Without knitting all the way, knit 2 tbsp. s/n back, 1 tbsp. s/n corner (there are 4 unknitted loops on the hook), turn the work, and, without knitting these loops, knit 2 tbsp. s/n (there are 6 unknitted loops on the hook).
Knit the loops together and continue knitting until the end of the back.
Knit in this way until there are 20 fillet squares left on the back and front. They form a side cut.
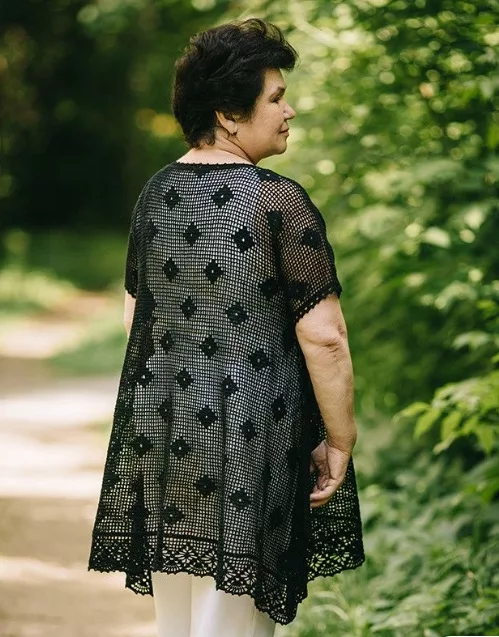
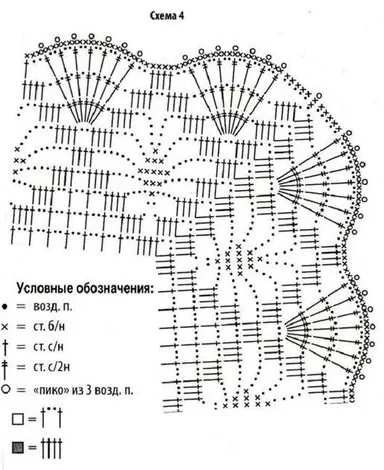
Tie the hem with a border according to pattern 4.
Tie the neckline and sleeves according to pattern 5.


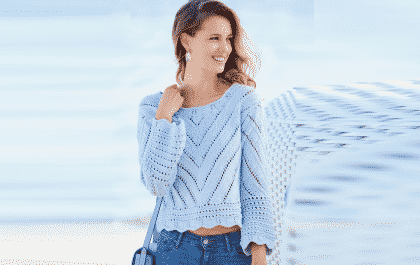
Openwork pullover with diagonal pattern
Любительницам ажурных вещей – новая интересная модель пуловера, связанная из 100% хлопка. Разнообразие в нее вносит диагональный узор. Изделие отлично подходит для теплых дней и модницам оно понравится.