
Fashion is changeable - it comes and goes. But there are things that remain forever in our wardrobe, which are not influenced by either time or fashion - this is an openwork crocheted shawl.
Even simple clothes, if you throw a beautiful shawl, an openwork bactus, a triangular scarf, a scarf over it, will look completely different - more feminine, a little more mysterious.

Crocheting a shawl is an activity for a real lady. You won’t surprise anyone with simple shawls these days.
How to crochet a very beautiful bactus.
Yarn: Turkish Sarmasik 200m/50g
– 40% cotton;
-40 % viscose;
– 20 % acrylic.
Hook 1.75mm
Bactus weight 220g
Dimensions: 45cm x 160cm
We knit a sample according to the pattern and description:

A semicircle surrounded by a fan-shaped grid:
1st row: 4 VP, “pico” (hereinafter “pico” from 3 VP), 7 VP, “pico”, 6 VP, “pico”. 5 VP, “pico”. VP, returning to make 1 dc in the 3rd VP, which goes behind the 2nd “picot”, sc in the 4th VP, which goes behind the 3rd “picot”, 2 VP, “picot”, 5 VP, “ pico" 2 VP, 1 TSN in the VP, where the RLS is connected, 1 RLS in the last VP.
2nd row: 2 VP, “pico”, 3 VP, “pico”, 3 VP, “pico”, 2 VP, sc on the first 5 lower VPs, 5 VP, sc on the second 5 lower VPs.
Next, create a figure with 4 festoons - a “crown”.
To do this, turn the work, tie 1 VP, 9 RLS under the arch of 5 VPs you just completed.
Turn the work, 1 VG1, 9 RLS.
Turn the work: 1 VP, RLS, 4 VP, RLS, departing from the previous 1 column, 3 VP, RLS, 3 VP, RLS, 4 VP RLS in the last column.
Turn the work around. Under the first arch, tie: 2 sc, ps, 3 dc, ps, sc.
Under the next 2 arches, tie sc, hc, 3 dc, hc, sc.
Under the last arch, tie: RLS, PS, 3 SC, PS, 2 RLS.
Next, 3 SS, going down to the beginning of the “crown” and continue knitting the row: 2 VP, “picot”, 3 VP, “picot”, 6 VP, RLS VP, where the last DC of the previous one is connected. row.
3rd row: on the first 4 VPs before. make a row: 2 SS, picot, 2 SS, then 1 RLS under the remaining 2 VP. 2 VP, “pico”, 3 VP, “pico”, 3 VP, “pico”, 2 VP, 1 RLS under 3 VP of the next arch,
Then knit 4 times *2 VP, “pico”, 3 VP, “picot”, 2 VP, 1 SC in the middle of 3 DC of the nearest festoon “crown””, 2 VP, “picot”, 3 VP, “picot” ", 2 2 VP, 1 RLS under the next 3 arches. 2 VP, “pico”, 9 VP, 1 RLS under the next 3 VP.
4th row: on the first 7 VPs of the row, make: 2 S, “pico”, 3 SS, “picot”, 2 SS, then 1 RLS under the remaining 2 VPs, 3 VP rises. +7 VP, 1 CH under the arch of 3 VPs before, row” - repeat 6 times.
5th row: knit with a bourdon 1 sc above each dc and 8 sc under the arch of 7 VP prev row, 1 sc in the top of the lifting loops (55 sc in total),
6th row: knit with bourdon. 2 VP lifting, 55 RLS.
7th row: 6 VP, 1 dc in every 4-10 loop before, row, 3 VP” - repeat 13 times, dc under 2 VP lift.
8th row: knit with bourdon. 1 lifting VP, for each penetration before. row *1 sc, 1 sc, 3 sc, 1 sc, 1 sc.”
9th row: 1 VP lifting, 2 VP, “tiko”, 3 VP, “pico”, 2 VP, 1 sc in the space between scallops”, 2 VP, “pico”, 6 VP, 1 sc under the lifting loops of the front row.
10th row: on the first 4 VPs before. make a row: 2 SS, picot, 2 SS, then 1 RLS under the remaining 2 VP. 2 VP, “pico”, 3 VP, “picot”, 2 VP, 1 RLS under 3 VP of the next arch” - repeat 3 times. *5 VP, 1 RLS under the next arch, make a “crown” figure with 4 scallops (see 2nd row), then knit 2 times - (2 VP, “picot”, 3 VP, “picot”, 2 B, 1 RLS under 3 VP of the next arch) repeat 2 times. 2 VP, “pico”, 6 VP, 1 RLS under the last arch,
11th row: on the first 4 VPs, make a row: 2 SS, picot, 2 CM, then 1 RLS under the remaining 2 VPs. *2 VP, “pico”, 3 VP, “picot”, 2 VP, 1 RLS under 3 VP of the next arch” - repeat 2 times. 2 VP, “pico”, 1 VP, 1 SC in the middle of 3 DC of the 1st scallop of the “crown”, break the thread and fasten.
Attach the thread to the middle of the 3 dc of the 4th scallop, 1 sc, 1 ch, picot, 2 ch, 1 sc under the next. arch of 3 VPs, 2 VPs, picot, 3 VPs, picots, 2 VPs, 1 sc under 3 VPs of the next arch, 1 VPs, picots, 2 VPs, 1 sc in the middle of 3 CH of the 1st scallop of the 2nd “crown”, break the thread and fasten” - repeat 2 times.
Attach the thread to the middle of the 3 dc of the 4th scallop, 1 sc, 1 ch, picot, 2 ch, 1 sc under the next. arch of 3 VPs. *2 VP “pico”, 3 VP, “pico”, 2 VP, 1 RLS under 3 VP of the next arch* - repeat 2 times.
12th row: 2 VP, “pico”, 3 VP, “pico”, 3 VP, “pico”, 2 VP, 1 RLS under 3 VP of the next arch. 2 VP, “pico”, 3 VP, “pico”, 2 VP, 1 RLS under 3 VP of the next arch. (*2 VP, “pico”, 3 VP, “pico”, 2 VP, 1 SC in the middle DC of the next festoon of the “crown” * - repeat 4 times. 2 VP, “picot”, 3 VP, “pico”, 2 VP, 1 RLS under 3 VP of the next arch * - repeat 2 times.) - repeat 2 times what is in parentheses. 2 VP, “pico”, 3 VP, “pico”, 2 VP, 1 RLS under 3 VP of the next arch. 2 VP, “pico”, 9 VP, RLS at the end of the row.
13th row: on the first 7 VPs before. row: 2 S, “picot”, 3 SS, “picot”, 2 SS, then 1 RLS under the remaining 2 VP. *2 VP, “pico”, 3 VP, “picot”, 2 VP, 1 RLS under 3 VP of the next arch* - repeat 18 times. Break and fasten the thread.
14th row: Attach the thread to the 3rd arch of the 3 VPs before. row RLS. 9 VP, 1 CH under the next. arch of 3 VPs. *8 VP, 1 dc under the trail, arch* – repeat 11 times. 4 VP, 1 C2H. 15th row: knit with bourdon. 2 VP lifting. Over the first and last arch of 4 VPs, knit - (RS, SC, 3 DC, SC, SC). Knit over the arches of 8 VPs (sc, ps, 3 sc, ps, 2 sc, ps, 3 sc, ps, sc). Break the thread and fasten.

Sample knitted from Sarmasik yarn 15cm x 27cm
Bactus assembly diagram:

We start knitting from the top 1st row of bactus, focusing on the layout diagram.
We knit the 1st strip - from the 1st to the 4th motif according to pattern 1.
Scheme 1


We connect the motifs according to scheme 1. The connection points are indicated by arrows and are additionally colored purple.
We knit the 2nd strip - from the 5th - to the 9th motif. At the same time, we join the first stripe - diagram 2 - purple dots.
Scheme 2

The 3rd stripe of six motifs is knitted according to pattern 3. The motifs are also added when knitting the last row.
Scheme 3


The orange color in diagram 2 shows how the leveling row is knitted.
Then two rows of tying the finished product in a circle according to scheme 4.
Scheme 4

In diagram 2, the 1st row is indicated in red. In the sample description, this is the 14th row.
We knit the 2nd row of the binding according to pattern 4. In the description, this is the 15th row.
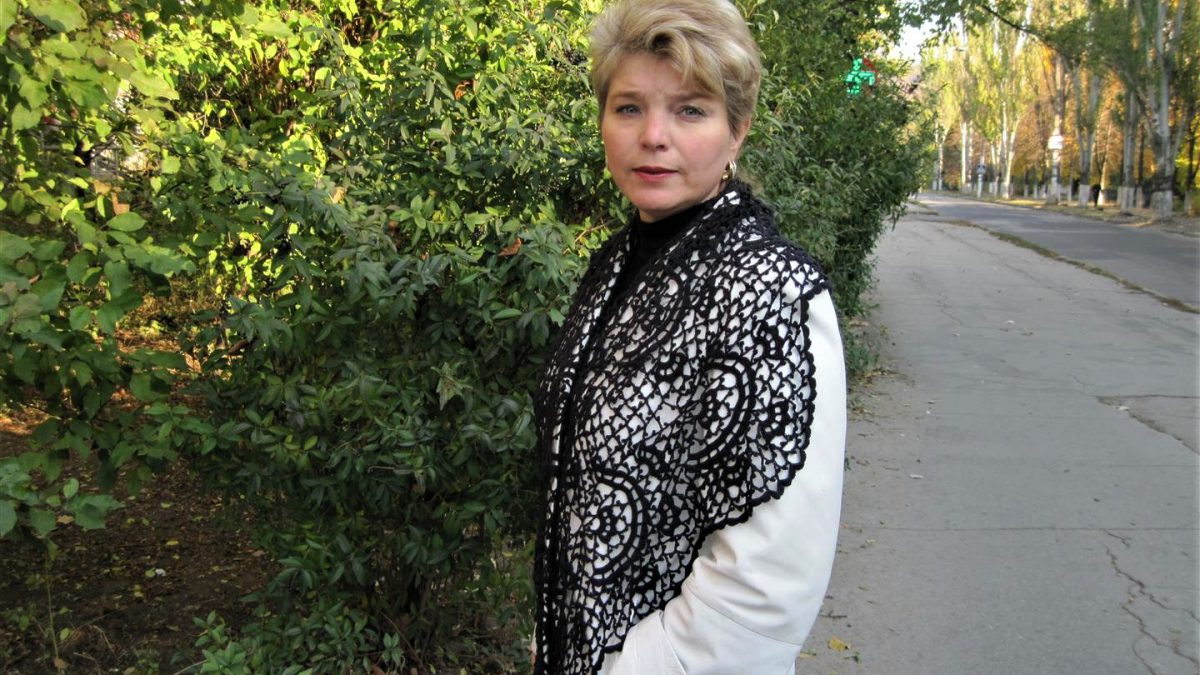
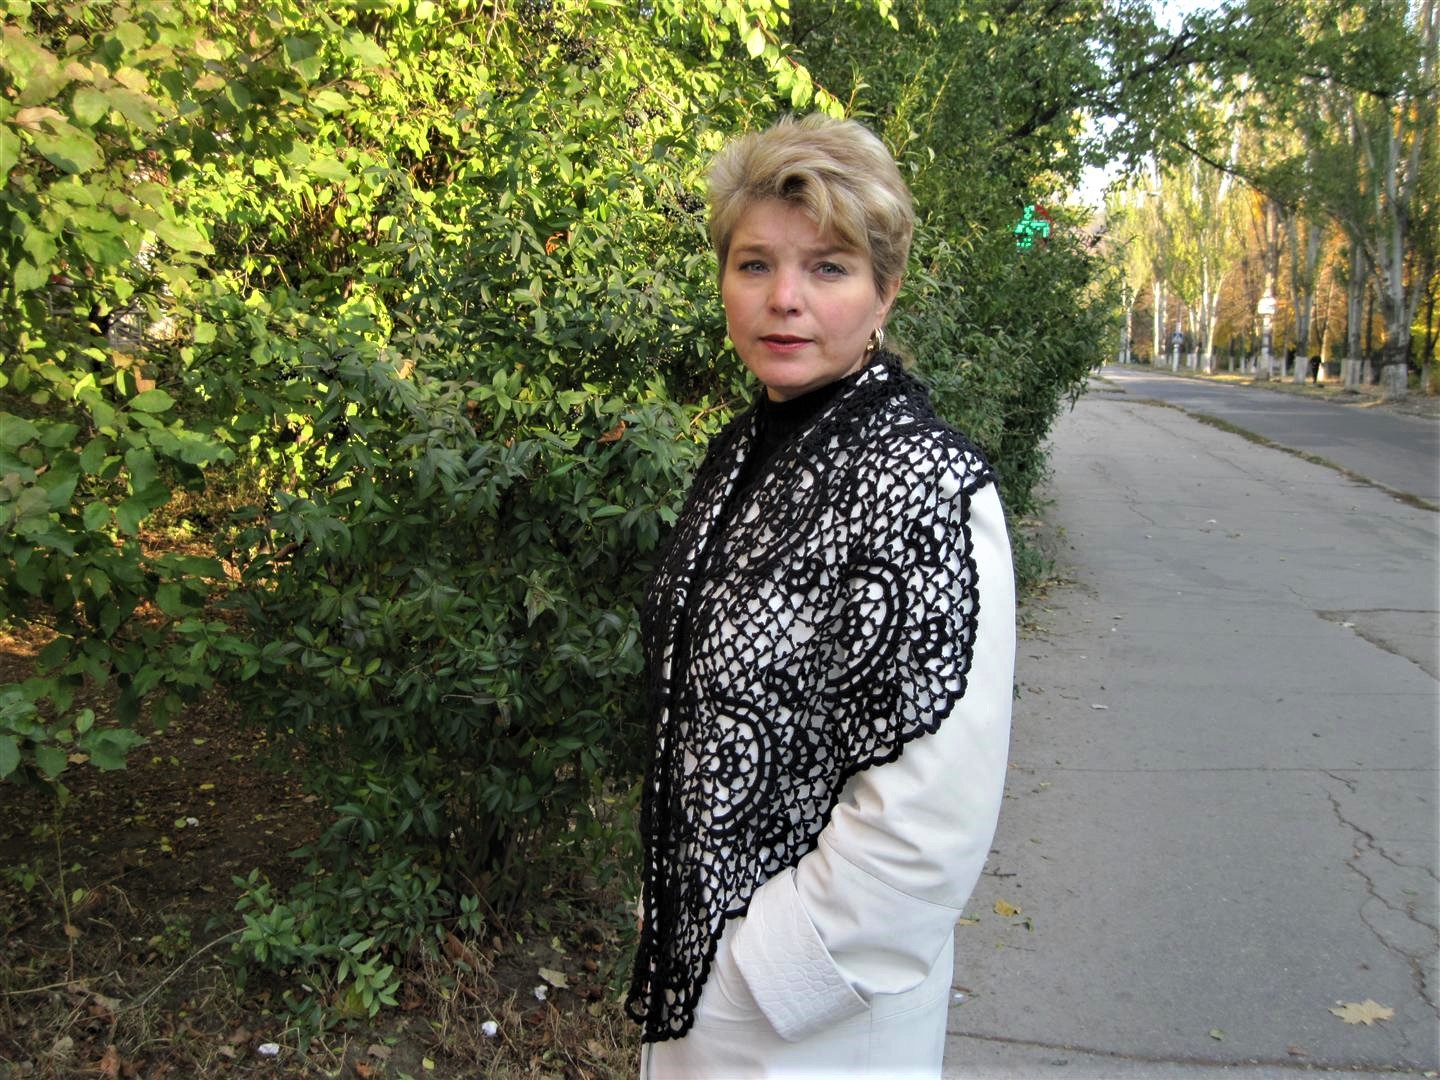
General view of bactus

We perform WTO and wear it with pleasure!


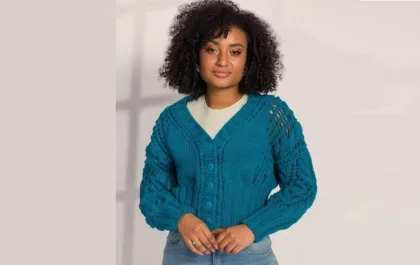
Openwork pullover
Все грани прекрасного: в этой модели соединились несколько воздушно- кружевных узоров, которые смотрятся особенно выигрышно благодаря мягкой пряже из хлопка и волокон сои.