

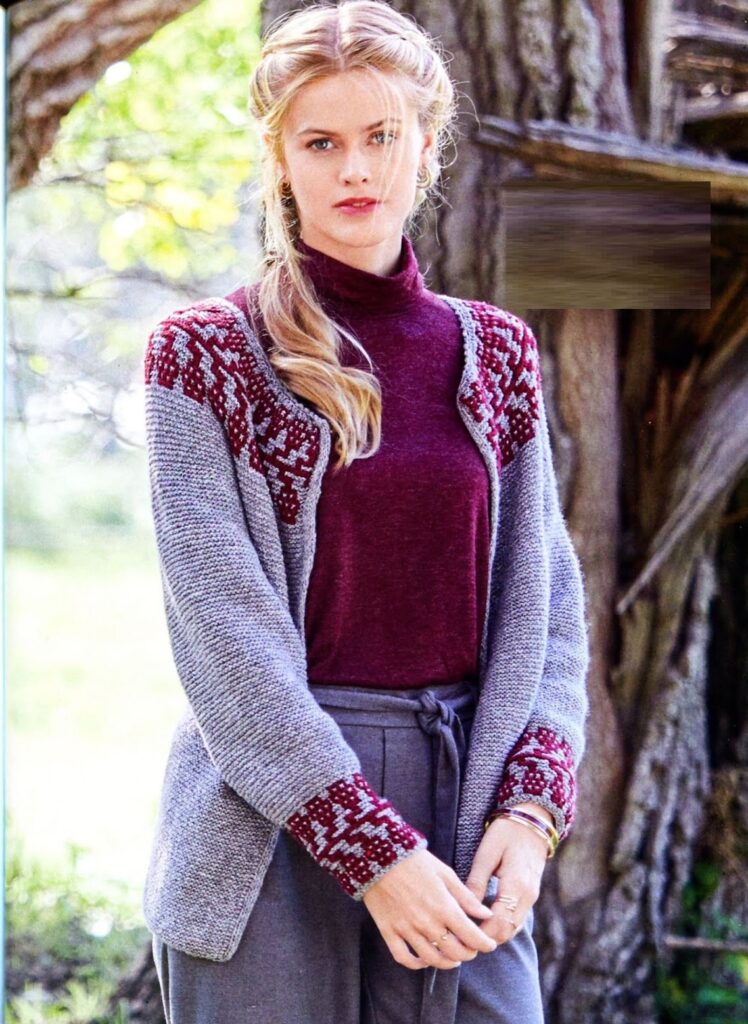
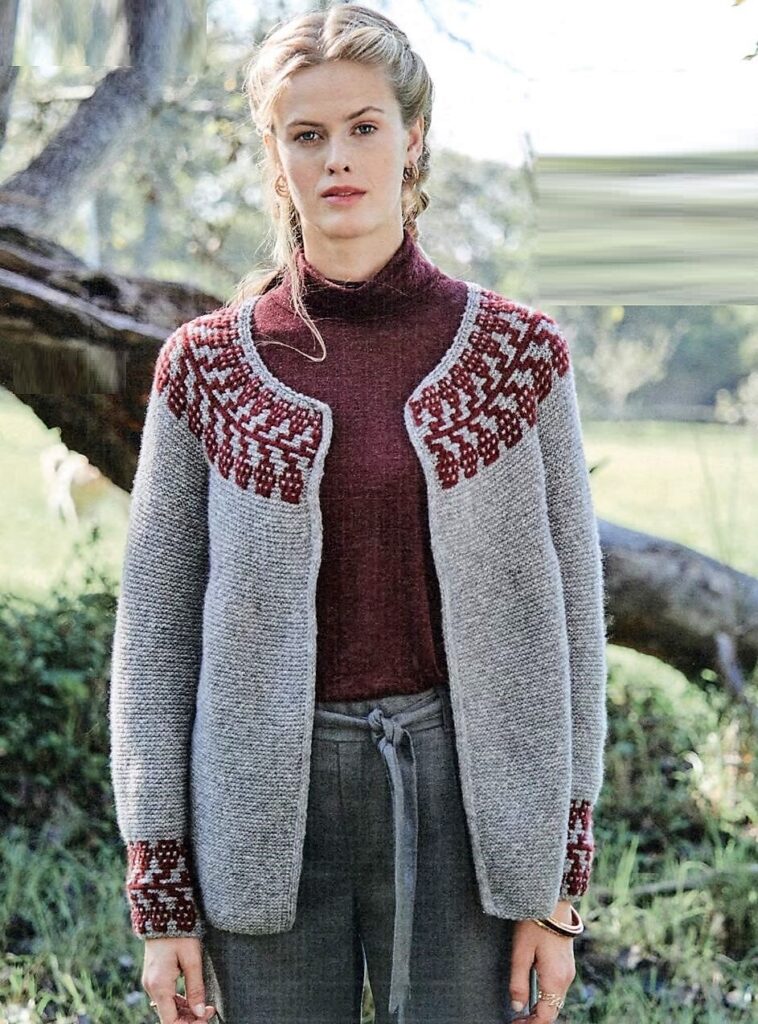
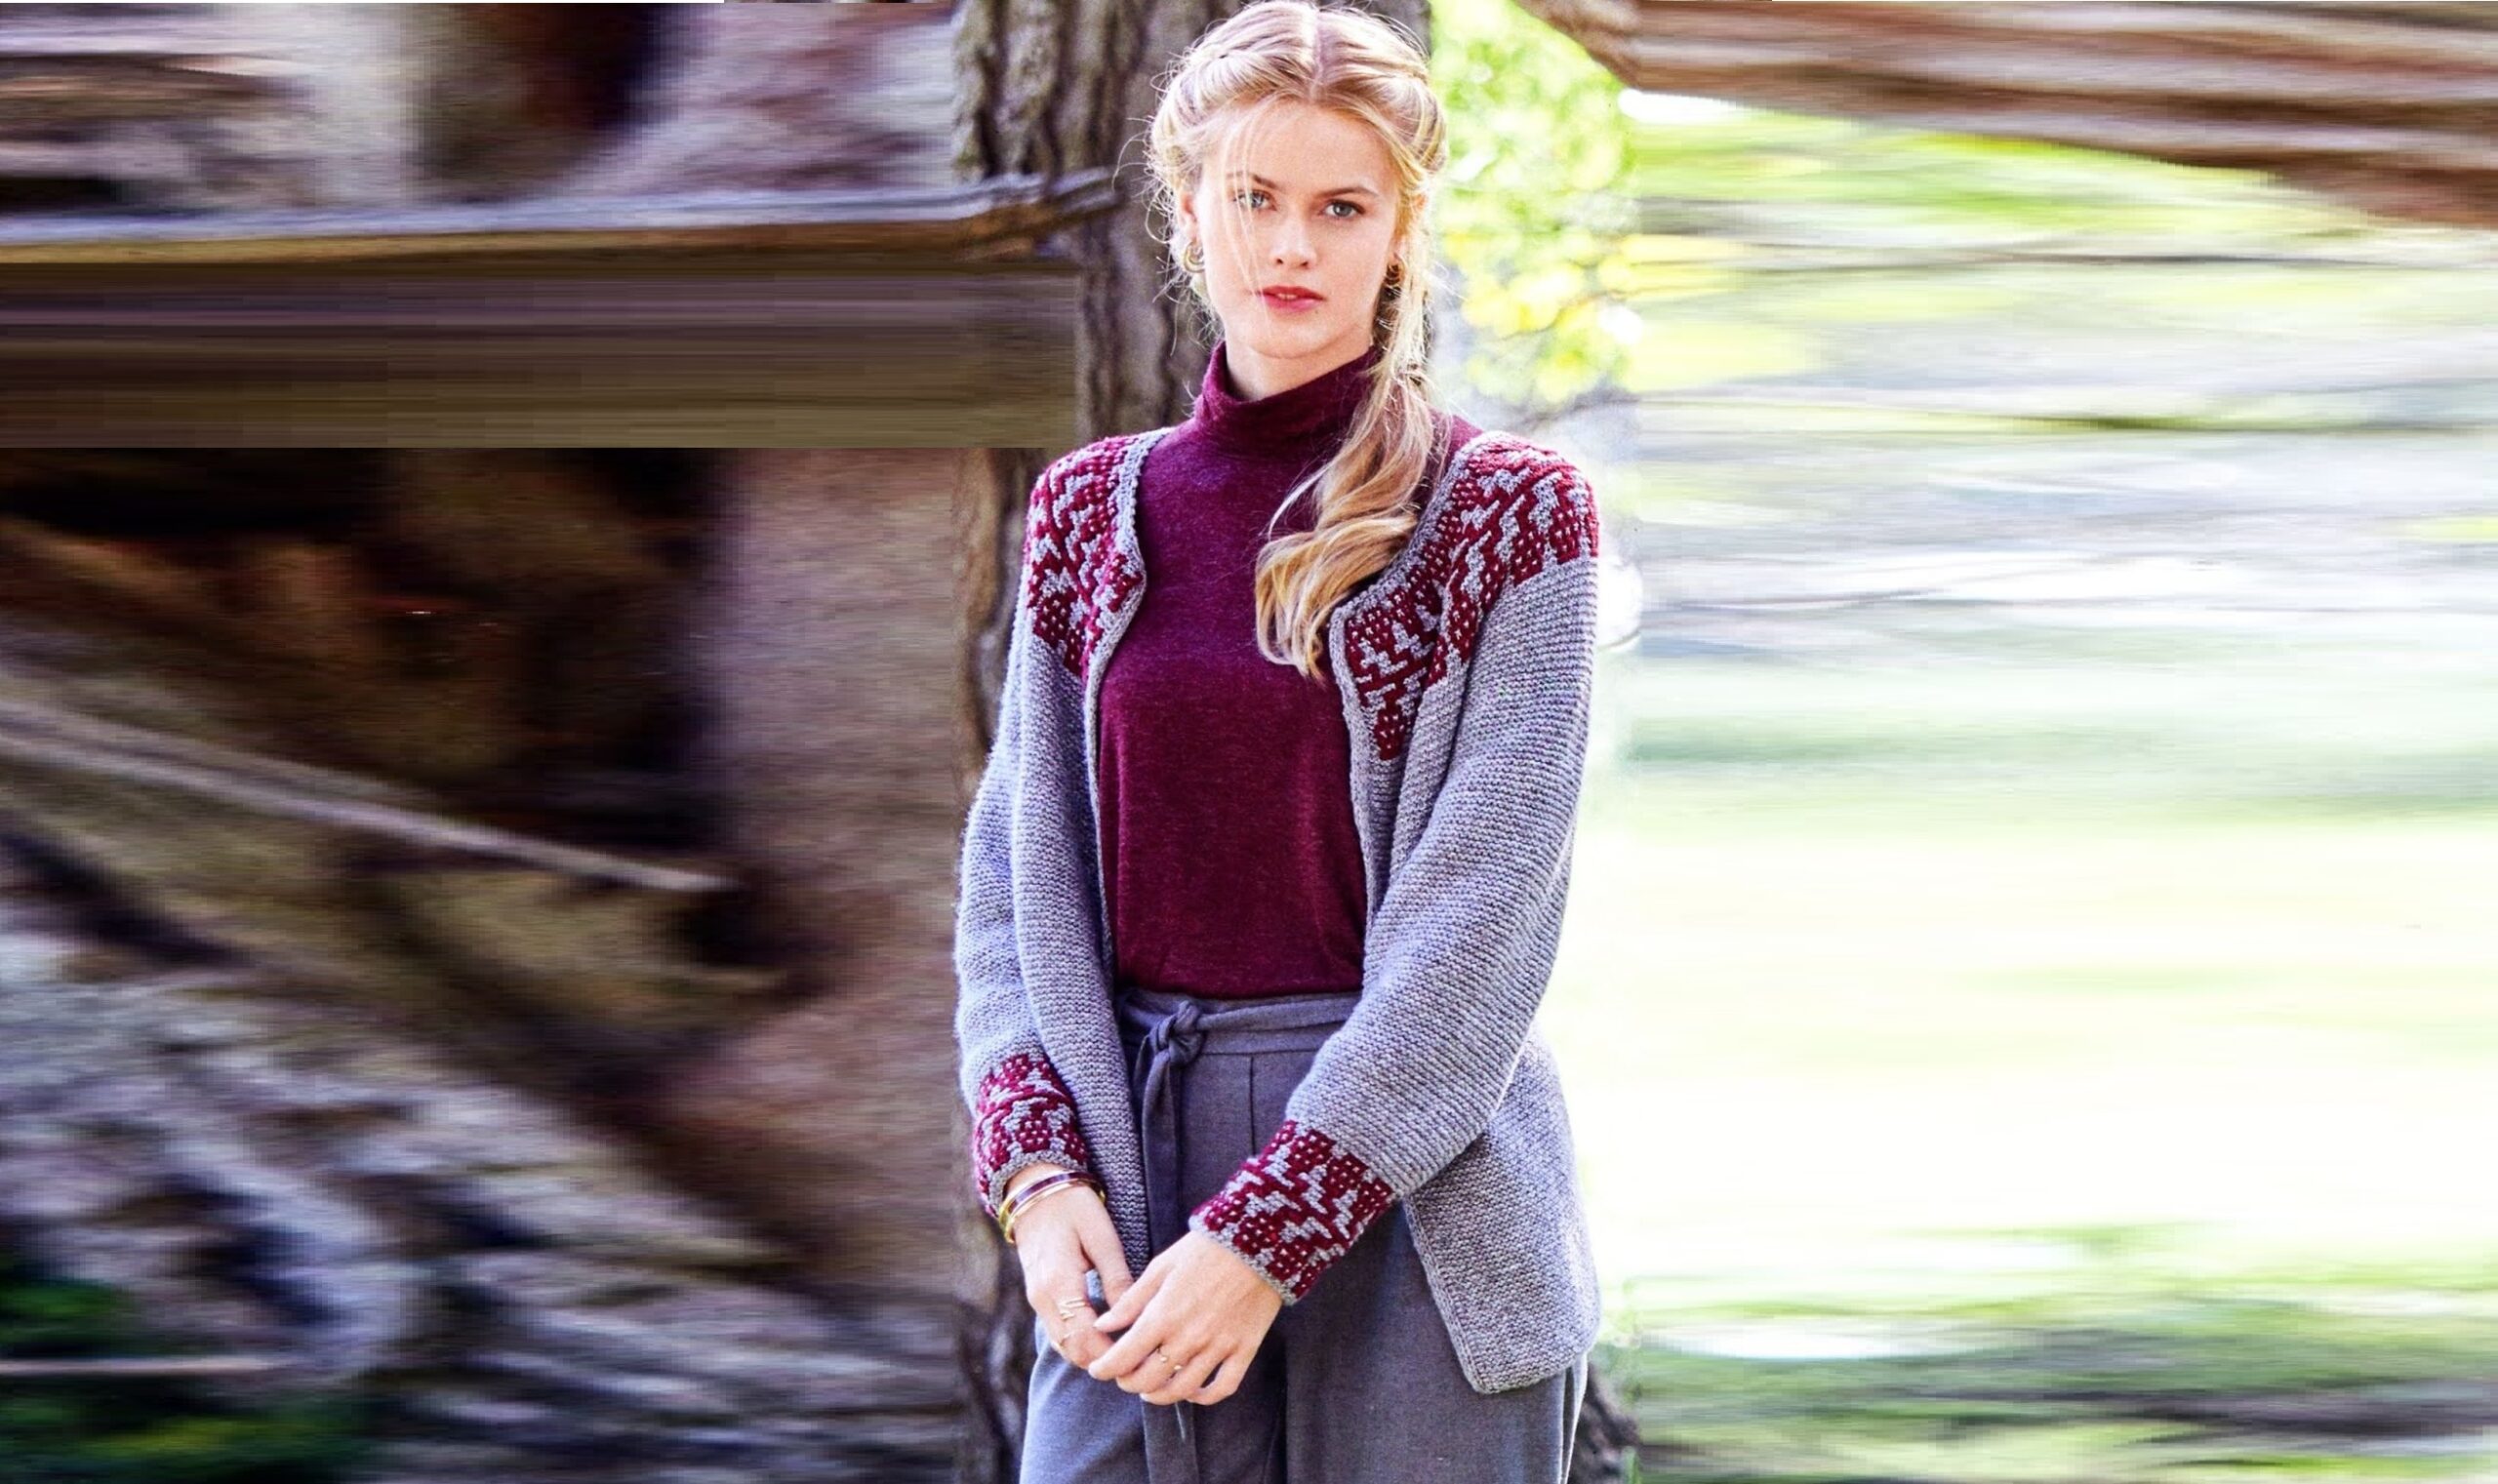
A little of the Norwegian style, a little of the Tyrolean, and in addition a divinely comfortable cut - you will find all this in a loose jacket made from a cashmere-blend yarn.
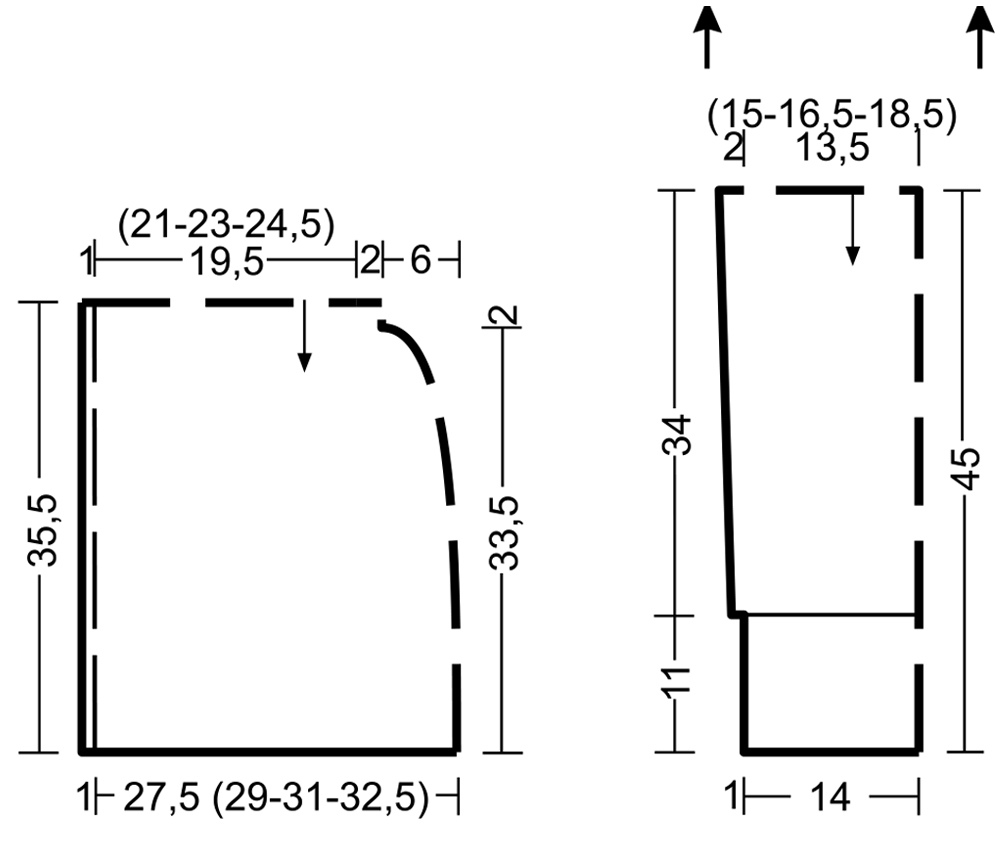
Dimensions: 36 (38/40-42/44-46)
You will need: yarn (80% sheep wool, 10% cashmere wool, 10% polyamide; 320 m/50 g) - 250 (300-350-400) g light gray and 50 (50-100-100) g dark red; knitting needles No. 5; circular knitting needles No. 5, length 40 and 60 cm.
Garter stitch:
Front and back rows - front loops. When knitting in the round, knit 1 row alternately and purl 1 row.
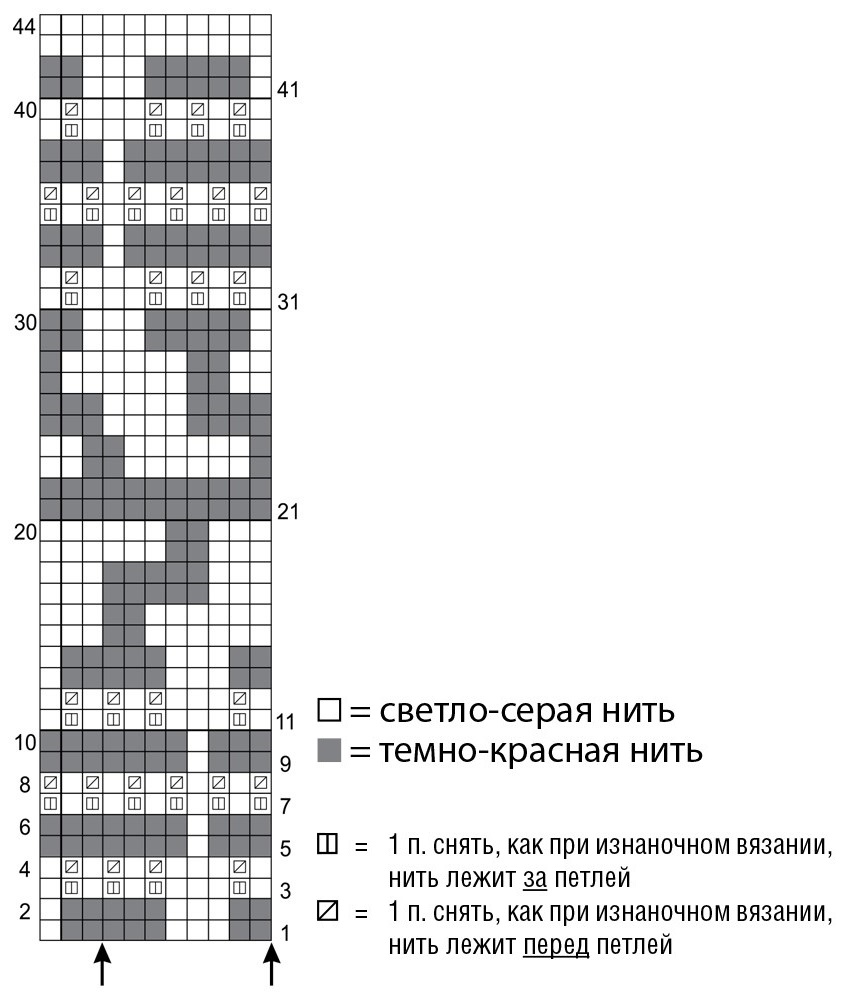
Pattern from removed loops:
Knit according to the given pattern in garter stitch. Repeat the repeat of 8 stitches across the width between the arrows and finish 3 stitches after the left arrow. In height, perform 1 time from the 1st to the 44th row.
Patent Edge:
Front rows: knit the first 4 stitches, remove the last 4 stitches as if knitting purl (thread at work).
Purl rows: knit the first 4 stitches purlwise, remove the last 4 stitches as in purl knitting (thread before work).
Knitting density:
23 p. x 44 r. = 10 x 10 cm, knitted in garter stitch;
24 p. x 40 r. = 10 x 10 cm, knitted with a pattern of removed loops.
Attention!
The jacket is knitted as one piece, from top to bottom.
Completing of the work:
Using double light gray thread, cast on 126 (134-142-150) stitches crossed and knit 1 purl. purl row.
Then knit with a single thread in garter stitch, while making a patent edge on both sides. At 3 p.m. (= front row) evenly add 117 (125-133-141) stitches between the patent edges, to do this, starting after the 5th stitch and ending before the 5th stitch from the end of the row, knit from each broach between the loops 1 p. each = 243 (259-275-291) p.
Starting from the 5th row, knit between the patent edges with a pattern of slipped loops, while continuing to knit the loops for the patent edge with a light gray thread.
After 44 r. From the pattern of slipped stitches, continue knitting in garter stitch with light gray thread.
Mark the raglan stitches with markers as follows: 39 (41-43-45) sts on the left front, 2 raglan stitches, 43 (47-51-55) sts on the left sleeve, 2 raglan stitches, 71 (75-79-83) sts back, 2 raglan loops, 43 (47-51-55) sts on the right sleeve, 2 raglan loops, 39 (41-43-45) sts on the right front.
For raglan bevels, knit from the broach 8 (10-12-14) times in every 2nd r. on both sides of the raglan loops, knit 1. crossed = 307 (339-371-403) sts (= 47 (51-55-59) sts + 1 st raglan stripe for each front, 59 (67-75-83) sts + 2 sts on both raglan stripes for each sleeve and 87 (95-103-111) sts + 2 sts on both raglan stripes on the back).
After 0.5 (1.5-2.5-3) cm = 2 (6-10-14) r. finish the parts separately without increments; At the same time, the shelves and the back are knitted as one piece.
Between the shelves and the back, dial on an additional 10 sts for the bottom of the armholes = 205 (221-237-253) sts.
Between the patent edges, knit in garter stitch and in the 9th row. evenly increase 54 sts = 259 (275-291-307) sts.
After 35.5 cm = 156 rubles. from separating the parts, close all the loops with a double thread, knit 2 stitches together purlwise and then immediately close the knitted loop. Now continue knitting the left sleeve and on both sides cast on an additional 5 stitches for the bottom of the okat = 71 (79-87-95) stitches.
Knit in garter stitch.
For bevels, reduce on both sides by 75 (23-13-9) rubles. from the beginning of the sleeve 1 time for 1 p., then 0 more times (2 times in every 24th row and 2 times in every 26th row - 4 times in every 14th row and 4 times in every 16 -th row - 7 times in every 10th row and 5 times in every 12th row) 1 p. = 69 p.
After 34 cm = 150 rub. from the beginning of the sleeve, knit 44 rubles on all stitches. pattern of removed loops.
Then close all the loops with a double thread, as in purl knitting.
Knit the right sleeve in the same way.
Assembly:
Sew sleeve seams and side seams.

Openwork pullover with “bumps”
Ажурный пуловер с «шишечками», связанный снизу вверх из пряжи DROPS Belle
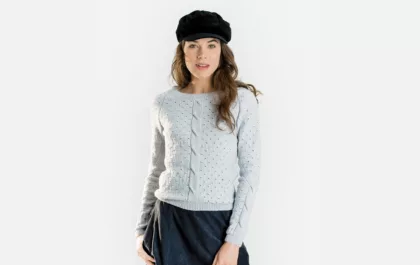
Классический джемпер с косами и вырезом на спине
Когда вязание проникается духом Высокой моды, рождается такой пуловер из тонкой мериносовой шерсти. Жемчужно-серый цвет создает прекрасный фон для милого ажурного узора и исключительных деталей: рукава, перед и спинка украшены «косами», глубокий каплевидный вырез сзади соединен шифоновой лентой в тон пряжи.